- Description
- Requirements
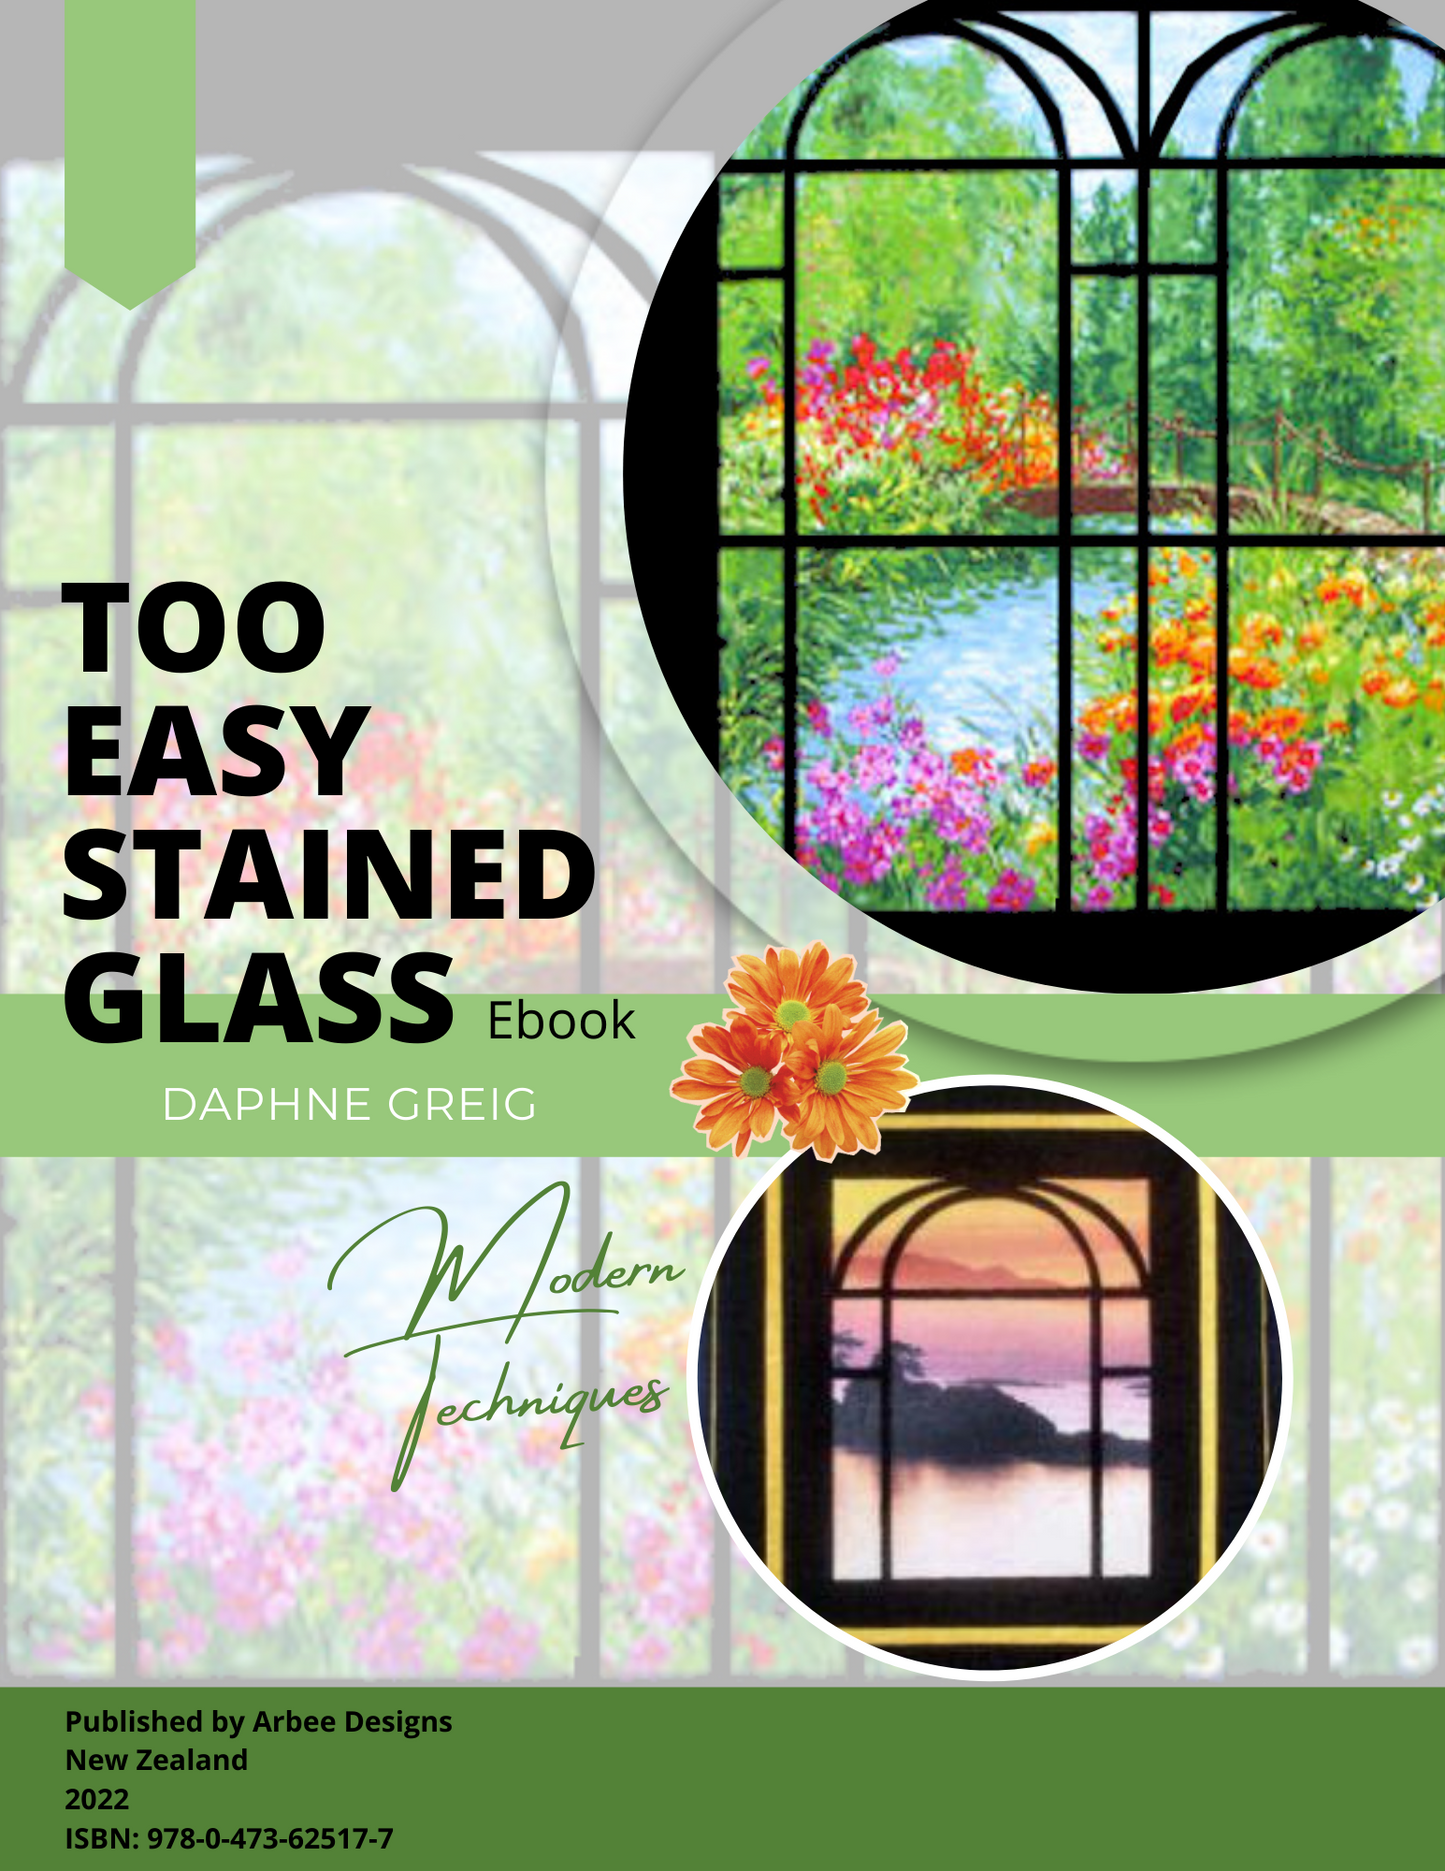
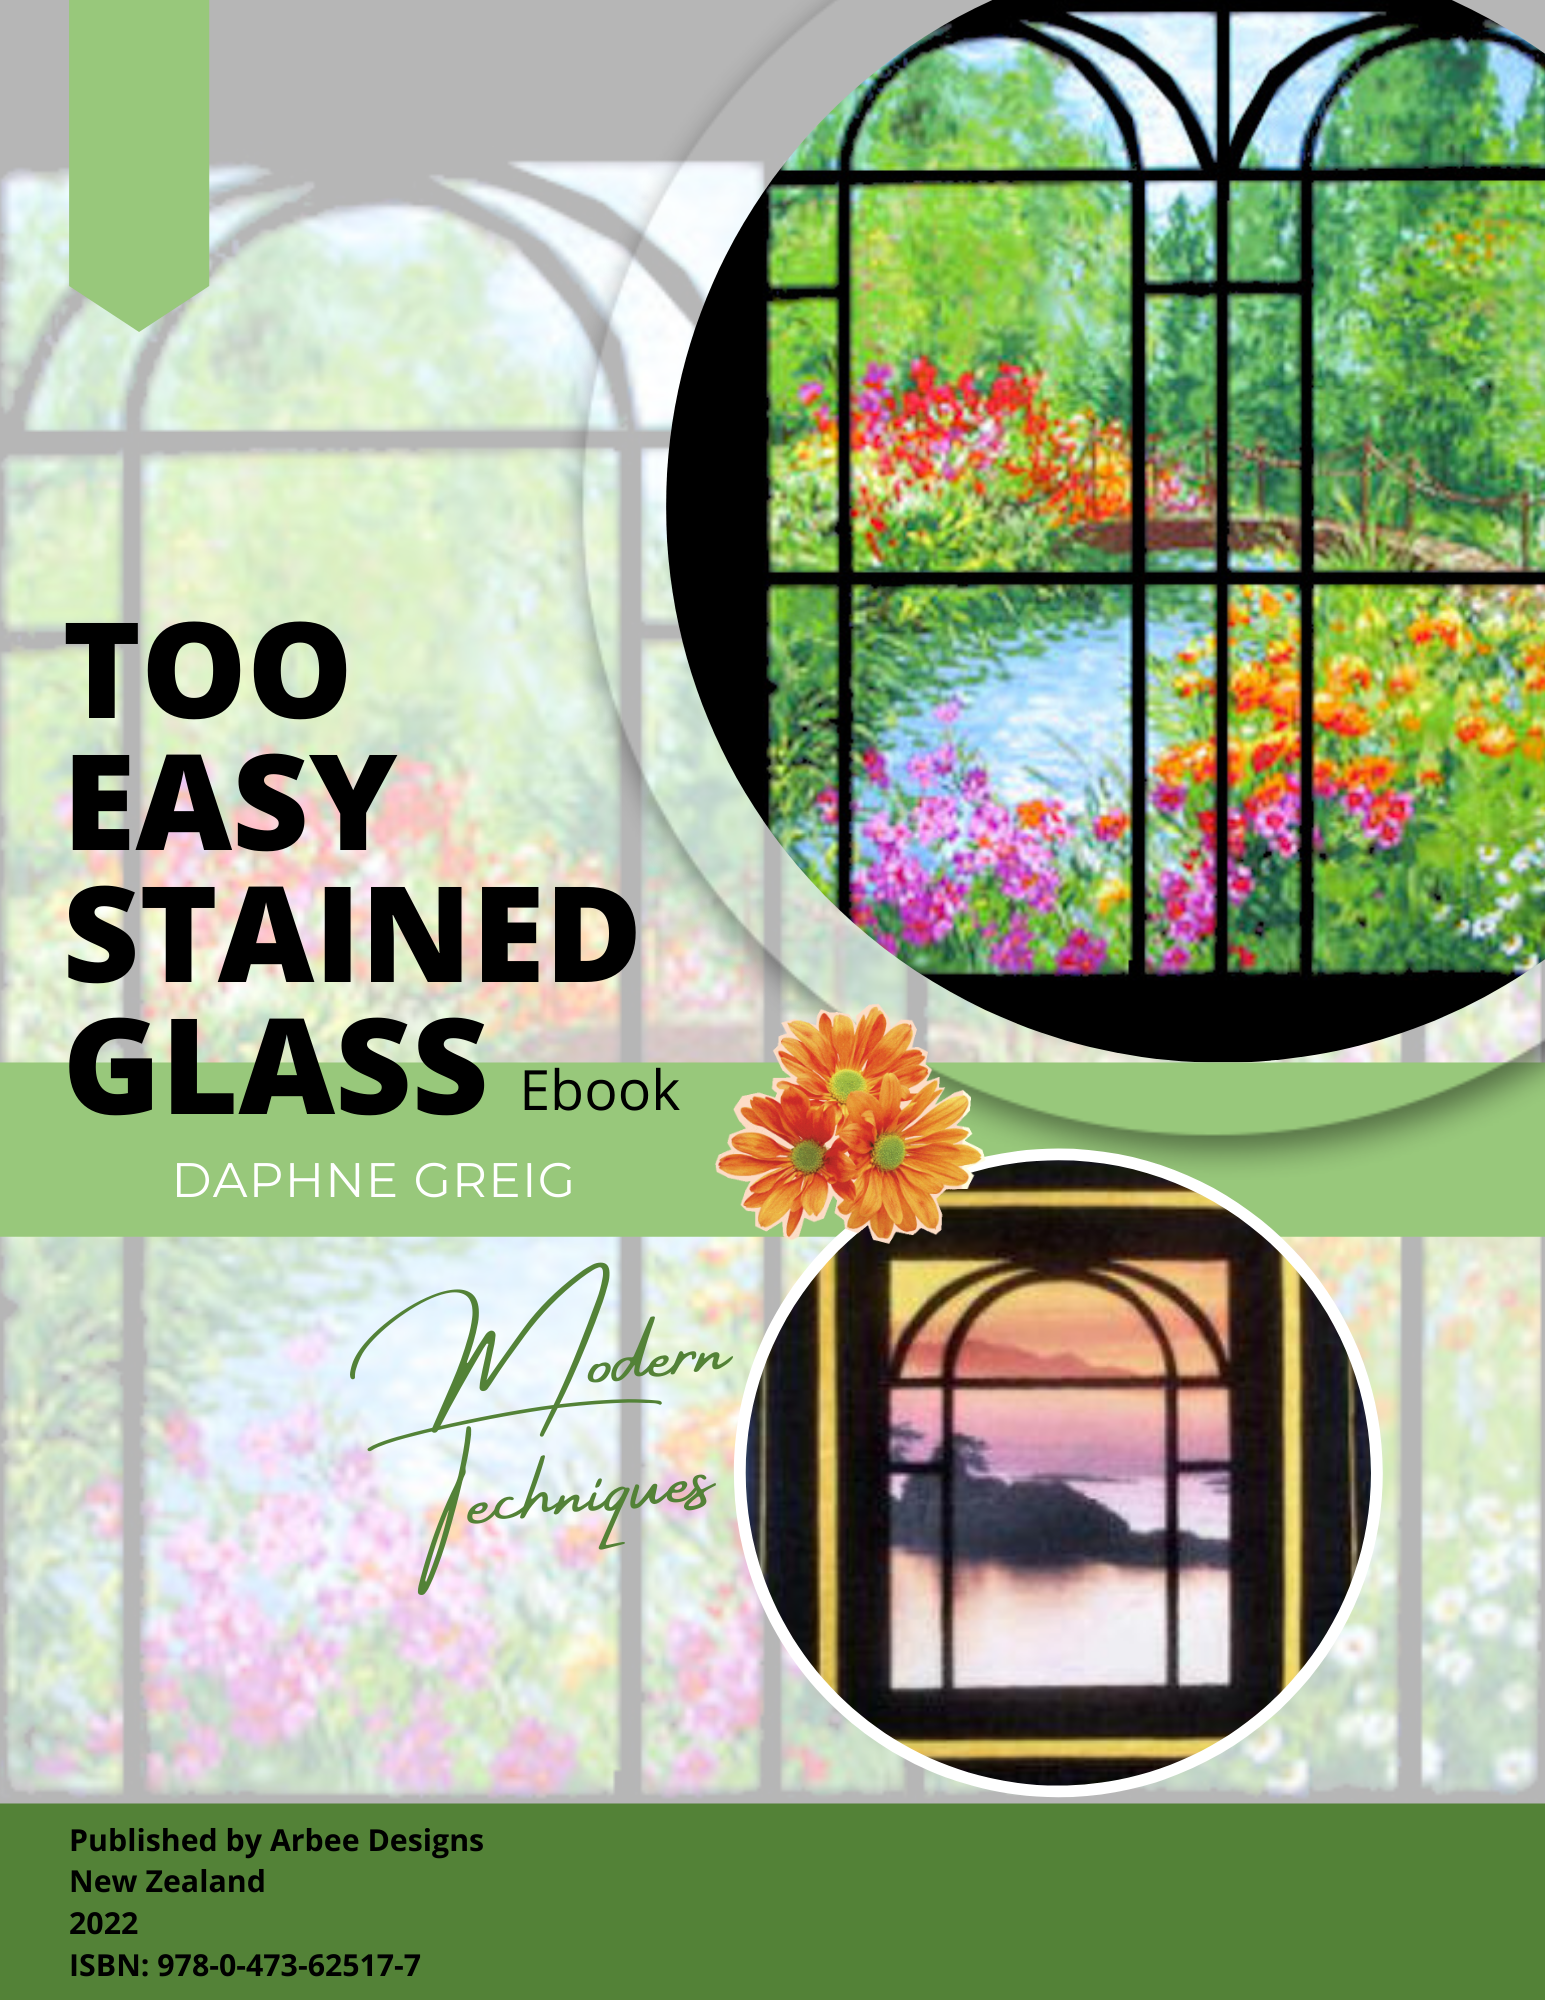
Let’s face it. Quilters love fabric, but some fabrics are hard to use. Those wonderful landscape fabrics will not be the same if we cut them into tiny pieces. What to do? Daphne has the perfect solution. Framing your quilt with leading lines creates an often surprising new view of your fabrics, drawing the eye in and giving greater attention to your focus fabric. You will learn a no-bias, no-glue stained glass technique. As you make a small project, Daphne will show you the Too Easy steps that set this approach apart from other methods. You will then explore further design options for a variety of fabrics and sizes. All Levels.
OUTLINE
Part One
- how to select a scenic fabric to see in your window
- how to use fusible web to create stained glass leading
- about a variety of tools for cutting the leading
- the best arrangement for the leading on your scenic fabric
- how to add borders to your quilt
Part Two
- set up your machine for zigzag stitching
- stitch the raw edges and quilt at the same time
- stitch sharp corners and smooth curves
- add binding to your project
Part Three
- adjust the leading to fit a larger scene print.
- use a printed photograph in the design
- create your own focus fabric
- adapt the technique to make lap or bed-sized quilts
Placing stained glass leading over a fabric gives you a different view of the fabric. The clearly outlined sections will draw you into the focus fabric so you really see what is included in the fabric print.
Scenic fabrics are available in just about every conceivable subject, from the high Arctic with polar bears and icebergs to exotic jungles with colorful creatures peering out from palm leaves. You can find ponds, cottages and woodland scenes. There are many fabric companies designing scenic prints.
If a landscape fabric is not for you, other choices include seasonal, floral and ethnic prints. Maybe you would like to create your own focus fabric by piecing together a variety of fabrics or by printing a photograph on fabric. You will see ways to adapt the stained glass for these ideas as well.
SUPPLIES
To make the first small project, you will need these fabrics and supplies:
Fabric
100% cotton fabric will work best for this project
Focus fabric is the fabric you will see in the window:
- One Fat Quarter (18" x 22") Choose a medium scale print. The design repeat should be no larger than 12"-14".
Leading fabric is the stained glass part of the project:
- 1 1/8 yard black cotton, includes outer border, backing and binding
Accent fabric for inner border:
- 1/8 yard of a tone-on-tone or solid fabric in a color found in your scenic print
Other Supplies
- 8 1/2" x 11" piece of fusible web. I strongly recommend Steam-a-Seam 2 fusible web for this technique. The fusible stays attached to the release paper until it needs to be removed and the web makes a good bond with the fabrics, making it easier to use. You can use either the regular or light weight for this project. If you try another brand, choose a fusible web that can be sewn.
- Batting: 16" x 18 1/2" piece low-loft cotton or cotton blend
- Thread: black 60 weight cotton. I recommend Mettler embroidery thread or Superior Masterpiece, but any fine black thread should work.
Tracing tools
- Sharp pencil for tracing. A mechanical pencil is a perfect choice and saves sharpening time. Use HB or higher lead and have an eraser handy in case you make a tracing mistake.
- Clear plastic or drafting ruler with a minimum length of 18"
Ironing tools
- Pressing surface - your regular ironing board will be fine
- Iron - not a mini crafts iron. Steam is not required.
- Pressing sheet is an absolute must for your stained glass projects. It will save your iron, your ironing surface and your good silk blouse! I recommend a Teflon pressing sheet that is made to withstand high temperatures. Several brands are available and I carry these on my website if you cannot find them locally.
Cutting tools
- Scissors that are sharp right out to the points; medium size works best
- Rotary cutter - 45mm cutter is the basic size to use but the 18mm size is also useful for cutting small areas
- Quilting rulers - 6" x 24" size is best for most cutting; you may also want to use a shorter ruler for some cutting
- Self-healing cutting mat, minimum size 18" x 24"
- Optional: Art knife. Olfa makes one that is easy to hold and use. These are commonly found in art supply stores and they are available on my website as well. Use an art knife with your quilting ruler and your cutting mat.
Sewing tools
- Sewing machine capable of zigzag stitching. You will need to adjust the width and length of the stitch
- Optional (but highly recommended): open toe presser foot. This has no bar across the foot, allowing you to see exactly where to sew.

Open toe foot
- Sewing machine needles: size 75/11 quilting or embroidery style
Basting and other quilting tools
- Safety pins for pin basting. You will need approximately 20 pins for the small project
- Quilting markers - white ink marker (Clover brand) or chalk marker that can be easily removed from your fabric. Be sure to read and follow the manufacturer’s instructions for removing marks. You will not need this until Lesson Three.
- Straight pins, hand sewing needle, stitch ripper
- Choosing a selection results in a full page refresh.
- Opens in a new window.

