- Description
- Requirements
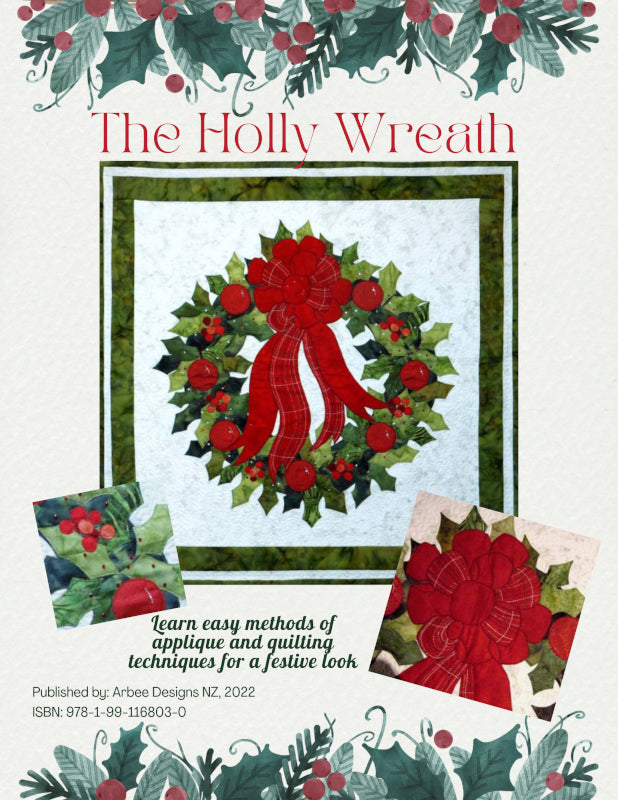
Join Ruth's step-by-step instructions, enhanced with tips and tricks to make this beautiful Christmas Wreath quilt. She will guide you through the entire project while learning several different methods of applique and quilting.
Included with this ebook are four videos showing you her techniques in applique stitching.
Download this detailed guide and complete your quilt in time for Christmas.
OUTLINE
Part One:
- Gather your materials
- Construct the background with borders
- Apply fusible webbing
- Cut out and press appliques
Part Two:
- Practice Free-Motion Stitching
- Learn to Soft-edge Applique
- Learn to Blanket stitch Applique
- Try Blanket stitch by hand
- Stitch the plaid design
- Layer your quilt
- Applique stitch your project
Part Three:
- How to Straight Stitch quilt
- How to Stipple and Meander
- Quilt your project
- Add label and hanging sleeve
- Binding off
Project is 28" square. Additional borders may be added to enlarge it (requirements to enlarge are not included below)
- Background: 7/8 yd [.8m] (light)
- First Border: 3/8 yd [.35m] (green)
- At least SIX different green fabrics: Fat Eighth of each (holly leaves)
- ONE fat quarter of dark green (background of the wreath)
- ONE fat quarter of red (ribbon, balls & berries)
- 1yd [1m] fusible webbing
- 1/2 yd [.5m] Stabilizer (iron-on or tear away)
- Batting & backing fabric at least 4" larger than the quilt size
- Binding fabric: 1/4 yd [.25m]
- Thread for quilting & piecing
- Machine embroidery threads: shades of red & green, plus white and gold for plaid stitching
- Quilting pencil or removable marking pen
- Sewing machine and accessories
- General quilting tools such as rotary cutter, mats, rulers, pins, safety pins, etc
- Teflon Sheet, parchment paper, or baking paper
- Lightbox may be useful
- Choosing a selection results in a full page refresh.
- Opens in a new window.

