Skip to product information
1 of 1

The Great Scrap Quilt

The Great Scrap Quilt

  • Briefly: Create a scrap quilt that beats all others for its unity, variety and overall beauty - Plus! Easy to make, and requires little extra fabric (Scroll down for detailed description)
  • Type: Workshop
  • Tutor: Elizabeth Barton
  • Videos: 38
  • Skill Level: All levels
  • Number of Lessons: 7
  • Techniques

    Scrap piecing, Improv quilting

    FAQ About Workshops

    Question: Where do I find the workshop I purchased?
    Sign into your account by clicking on the figure icon in the top right corner of this page. You will be directed to your workshop. Alternatively, click here to sign in
    Question: What does it mean by Duration of 10 or 14 weeks?
    Our standard duration for teacher help is 10 weeks. If you feel you need longer we have an option to select 14 weeks of teacher help. We find this is plenty of time for the student to be engaged. After the teacher time is ended you still have access to the class data and you also have access to extend your time at a later date (details are included in each class)
    Question: Is the workshop self-paced or do lessons open at certains times such as on a weekly schedule? 
    Workshops are self-paced. All lessons are available as soon as you access the class for the first time unless otherwise stated in the workshop description.
    Question: After I register for a workshop, how long can I access the class data (videos, text, images etc)
    Once purchased, you can access the class data at any time, 24 hours a day for as long as you need. On occasion, a teacher or workshop may retire, in this case we will give you fair warning so you can download the class data so you can still access the information.
    Question: Do I need to make an account?
    Yes, you need an account so you can log into the workshop. If you don't have an account we suggest you sign up for one prior to purchase. 
    Question: Can I ask the teacher questions?
    Yes, you can ask the teacher any questions relating to the workshop. Details on how to do this are provided in the course.
  • Tags: creating fabric, Elizabeth Barton, online workshop, Piecing, scrap quilt, stained glass

  • Regular price $74.00 USD
    Regular price Sale price $74.00 USD
    Sale Sold out
    Duration
    View full details
    • Description
    • Requirements

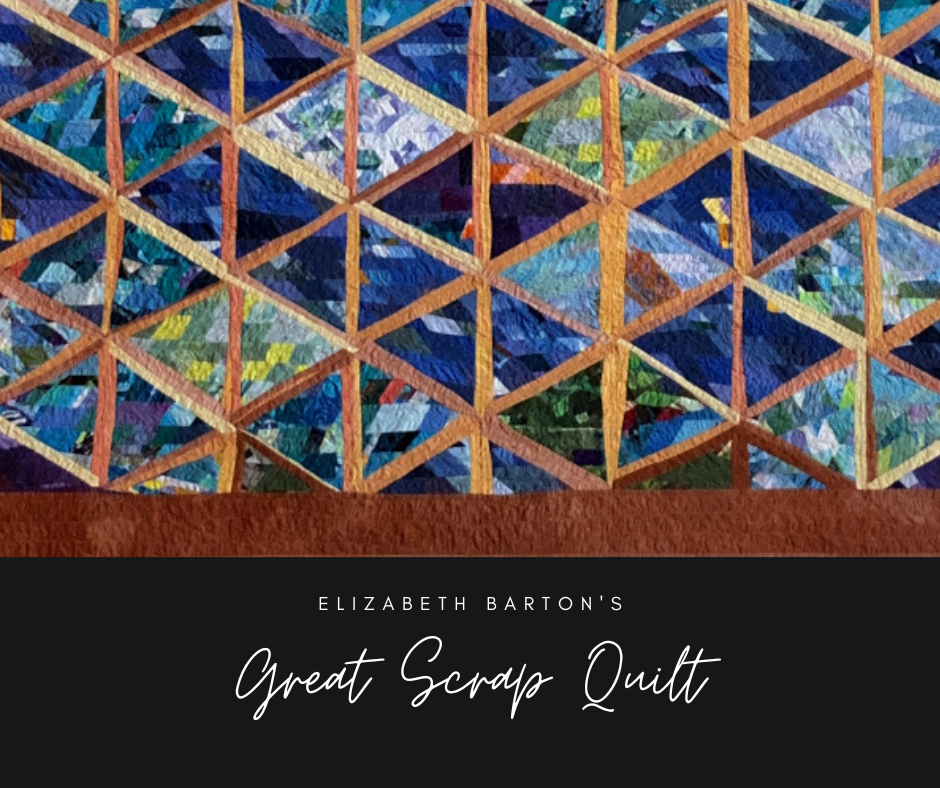
    Here is the scrap quilt idea you have been waiting for.... No tedious cutting or piecing, and an amazing result.

    Inspired by old stained glass windows in her hometown of York, England... Elizabeth Barton has created an easy design that has multiple creative possibilities. It is fun and relaxing to make, but the result is incredibly rich. You can follow Elizabeth exactly, or vary according to your own creative ideas.

    This is a fabulous way to use up all your scraps, and you really only need to purchase a "theme" color for the framing and borders to pull it all together.

    In 38 short videos, Elizabeth takes you through the whole creation of this beautiful scrap quilt - she also states that she won an award with hers at the local annual art show!

    Note: Once purchased, you can access the class data any time, 24 hours a day and you get immediate access. (if you don't have an account we suggest you sign up for one prior to purchase)

    Time Duration applies only to teacher access for your question and answer duration.

    Outline

    The Great Scrap Quilt takes 16 steps or lessons….

    L1: Choosing the Fabric

    L2: The Cutting of the straight strips: Cutting the strips from scraps…45 degrees on the ends…reasonably consistent width but you don’t have to measure it; in fact better if there is a little variation.

    L3: Sewing the strips together into a long ribbon

    L4: Sewing the ribbon into fabric…end to end…then iron…end to end then iron…time to meditate!! Ironing is crucial…smoothing out all the wrinkles and troubles….calm…relax….

    L5: Cutting the diagonal strips Sewing the diagonal strips together

    L6: Choosing the shapes to cut: squares, triangles, parallelograms, diamonds, rectangles…and the size of the shapes… considering the ratio between the shapes and their borders.

    L7: Arrange them for the most effect….on a design wall if you can…or on the floor and then suspend yourself from the ceiling to get the full effect – or more easily take a photo from that angle…definitely have a purpose in your arrangement.

    L8: Adding the short sashes…the assembly line method.

    L9: Joining the units together.

    L10: Adding the long sashes.

    L11: Trimming and ironing.

    L12: Border fabric – same as sash.

    L13: Sandwich…basting.

    L14: Machine quilting.

    L15: Facing and sleeves.

    L16: Next steps.


      Supplies Required for Workshop

      The fabrics in your stash.
      Plus perhaps one yard or so of the main color you will use…
      All your usual sewing supplies…nothing more, nothing unusual.