- Description
- Requirements
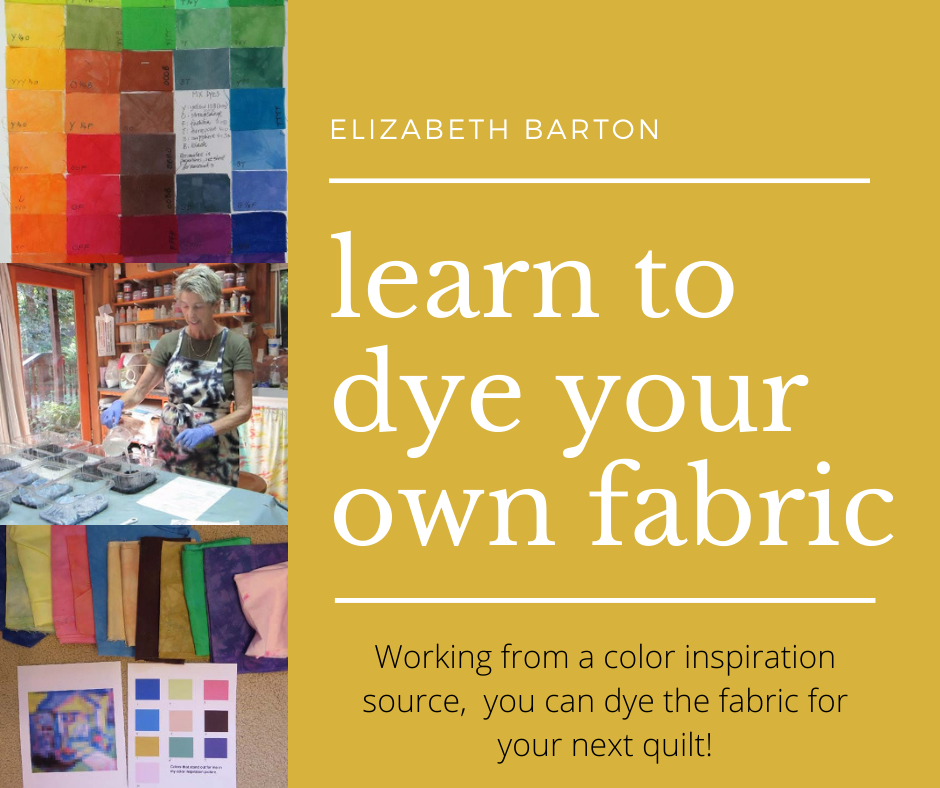
This class goes more deeply into two different ways to dye, how to achieve gradations using two different methods, how to dye any color you want, how to dye neutrals and their importance in quilt making. You will learn a lot about color and how to use it…and the final project is to dye all the colors in your favorite painting!
- If you’ve never dyed before, this is the class to take.
- If you have taken a class but ended up feeling confused about the whole process, this is the class to take.
- If you have taken a class, and felt like it was all too much work, this is the class to take!
- If you have taken a class and had wimpy or muddy results, this is the class to take!
- If you have read about a class where you had to dye thousands of little square samples before you could even think about what you needed to make that quilt you have in mind, this is the class to take!
- If you want to be able to dye a reasonable approximation of any color you see anywhere, this is the class to take!
In five lessons, Elizabeth explains the process of hand dyeing in simple, safe, clear, easy-to-remember terms. You will make enough dye concentrate in the first class to last you through the whole course – and beyond! You really don’t need to be mixing up dye every single time! There are only a few key factors to successful dyeing and Elizabeth will explain them very clearly, so failure just simply is not an option!
In this course Elizabeth will cover:
- dye mixing
- gradation dyeing
- pure versus mixed colors
- how to derive your own recipes
- how to dye neutrals and why you need them
- the benefits of overdyeing.
- In the last lesson, working from a color inspiration source, you will dye the fabric for your next quilt!
When you sign up for this on-demand class, you can choose from 10 or 14 weeks of dedicated time with Elizabeth. You can start as soon as you register or dedicate a date you wish to start.
Note: Once purchased, you can access the class data any time, 24 hours a day and you get immediate access. (if you don't have an account we suggest you sign up for one prior to purchase)
Time Duration applies only to teacher access for your question and answer duration.
Outline
Lesson 1:
- Procion dyes and how they work
- Safety
- Measures and their equivalents
- Workspace
- Mixing dye solution
- Low water immersion dyeing gradations: 2 different ways
Lesson 2:
- Low vs high water dyeing: three colors in three (or more) values 2 different ways (low and high).
- Some of these will be retained for overdyeing in Lesson 4.
Lesson 3:
- The 12 step color wheel: Recipes for all 12 steps
- Pure dyes vs mixed dyes
- Mixing colors
- Warm and cool colors
Lesson 4:
- Neutrals (what they are and why they are important)
- Tints and Shades
- Saturation or intensity
- Overdyeing,
Lesson 5:
Working from an inspiration source, a photograph or a painting:
- Analyzing and choosing the colors.
- Putting it all together
Supplies Required for Workshop
Fabric
10-20 yards of good quality, prepared for dye (PFD) white cotton.
Test Fabrics 419, Kona or Kauffman cotton are all good, or use your own favorite PFD cloth. If you cannot get PFD cloth, then look for a good quality pure cotton and “scour” it, i.e. prewash it with a TSB of soda ash and a detergent that doesn’t have “brighteners” or bleach added. I usually use a little dishwashing liquid (like Dawn or Joy). Do be careful though if you have a front loader, dishwashing liquid is NOT low suds!! So don’t use much dishwashing soap.
I’ve had great success with shirting fabric from the fabric store – it actually dyed better than some of the so-called quilting cottons.
Dyes
6 small containers of MX fiber reactive dye in the hues listed which will ensure our being able to dye cool and warm colors of all the primaries. The generic dye name is given after the color and the prochemical.com numbers are in parentheses.
| Sun Yellow MX-8G (108) | Basic Blue (400), (MX-R) |
| Strong Orange MX-2R (202) | Turquoise MX-G (410) |
| Fuchsia MX-8B (308) | Black (any black will be fine) |
I suggest you buy a 2 ounce (approx 57 grams) container of each dye, unless you really want to get into dyeing, in which case a larger container is probably more economical. However, no measuring is necessary with the 2 oz containers, so they are very convenient to use!!
In other countries, use your browser search engine to find a local source of MX fiber reactive dye. If you already have dye, but in different colors, use those. I will discuss the rationale for my colors when we look at color mixing.
NOTE: If you are going to be ordering your supplies from a manufacturer other than prochemical.com, the following chart gives you the generic numbers and the various names that the different manufacturers use: http://www.pburch.net/dyeing/FAQ/pureMXcolors.shtml
Dyes are available from
USA: www.Prochemical.com or www.DharmaTrading.com
Canada: www.gsdye.com/Canada/ProcionMX.html or www.maiwa.com
UK, Australia and New Zealand:
http://www.tillia.co.nz/dyes.html
Check to see if it makes sense to buy dye from a US supplier and pay postage or shipping, rather than buying in your country.
Dyeing Supplies
- Urea (humectant) (8 oz) (227 grams)
- Soda ash (also known as dye activator) ((16 oz) (450 grams)
If you think you will want to dye a lot, I’d recommend that you purchase double the above amounts.
Soda ash is also available from swimming pool suppliers, but it is much coarser and difficult to dissolve. I didn’t like it, but others (who are probably more patient than me!) find it works okay for them.
Some people say you don’t need urea. I find that it really helps the dyes to dissolve and stay dissolved, I don’t like finding spots of dye on my fabric, and I don’t like stirring and stirring for hours! Let the urea do the work! And it’s not very expensive.
- detergent or soap: Any kind is fine as long as it does not contain any additives that might remove color. Personally, I usually use Dawn dishwashing liquid soap which works very similarly to the Synthrapol that professional dyers use; furthermore dishwashing soap is gentler on your hands.
Other Supplies
- dust mask and rubber gloves - I like the thin surgical ones.
- plastic containers - plastic bags that zip tightly closed or used plastic food containers are fine. Be sure there are no holes!
- small funnel for pouring dye into the containers
- One container (8-16 oz) with a lid that you can mix the dye in, screw the lid on and then shake. I use an old dye container, but any wide mouth container with a secure screw top lid is fine.
- Scoop (usually used for flour in baking)
- SIX 16 oz (500 ml) plastic bottles for storing dye solution. Squirt bottles with tops are ideal.
- set of measuring spoons: 1/8 teaspoon, 1/4 teaspoon, 1/2 teaspoon, 1 teaspoon, 1/2 tablespoon, 1 tablespoon (metric measurements: .5ml,1ml, 2ml, 5ml, 7.5ml, 15ml)
- small plastic pitchers or measuring cups, 8oz (250 ml) or 16 oz (500 ml), to be used only for dye. If you have two of each, it is more convenient. Any containers that are approximately these sizes are fine.
Note: plastic is a lot safer than glass in the dye studio, where your hands and gloves might be slippery.
Once any item has been used for dye, you cannot re-use it for food or drink.

