- Description
- Requirements
Feeling flat and predictable? Why not Learn Exciting new ways to design and make great quilts based on your photographs?
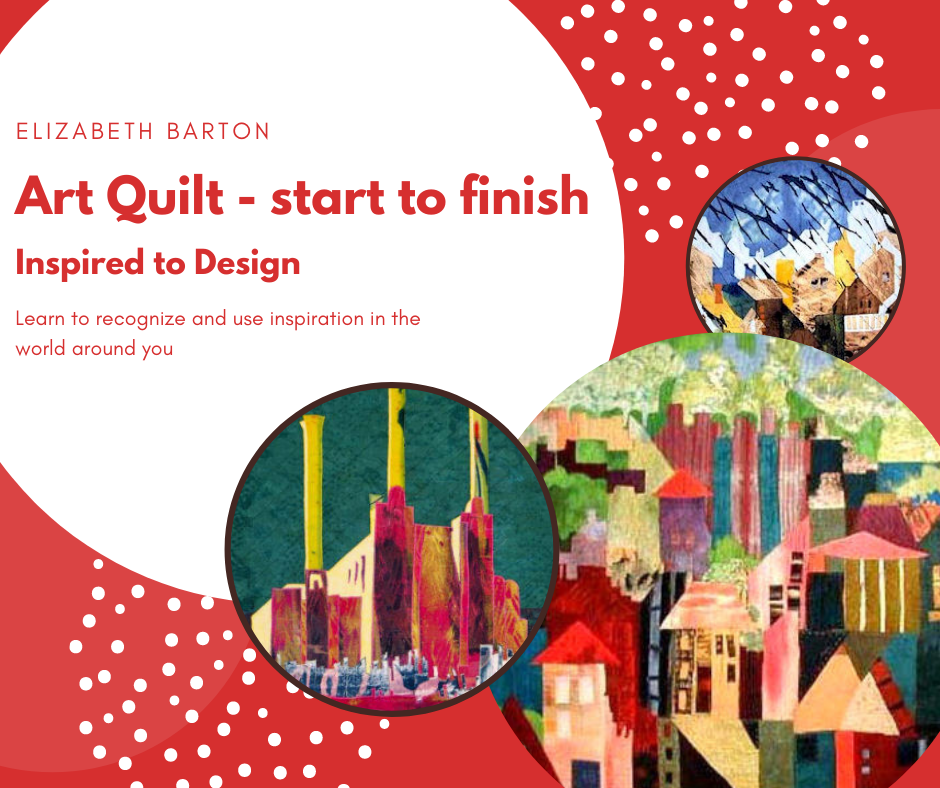
Multiple Quilt National and Visions artist Elizabeth Barton shows you just how she created her quilts...it's easier than you think!
You will learn how to create several different designs and make the quilt of your choice in any size you like.
Elizabeth takes you through all the steps and answers any queries, helps with problems, and critiques issues (if you ask!) within a day.
This workshop is a complete revision of 'Inspired to Design', presenting it visually with the original text available as a bonus.
Your inspiration can be flowers, landscapes, cityscapes, patterns in nature, engines – anything! How do you go from a visual or aural idea to a finished design? Elizabeth will show you how to develop your drawings and how to use shape, line, color, and value to bring them to life. While this workshop's emphasis is on design, constructing your piece in fabric is an important part of the process. Elizabeth's simplified layered appliqué construction method lets you see how your finished quilt will look before you have sewn a stitch.
Level: competence with machine appliqué is helpful, but a little practice will give you all the skills you need.
Note: Once purchased, you can access the class data any time, 24 hours a day and you get immediate access. (if you don't have an account we suggest you sign up for one prior to purchase)
Time Duration applies only to teacher access for your question and answer duration.
Outline
Lesson One
- Developing an inspirational notebook
- Finding your main idea
- Creating design sketches
- starting with photographs
- take one small detail
- put your design on a grid
- section your design
- starting with photographs
Lesson Two
- Create more design sketches from
- positive and negative shapes
- one favorite shape
- freehand drawing from memory
- variations on the main visual theme
- variations inspired by ideas in other artists’ work
- weaving
- music
- words
- poetry
- doodles
- walking
- Evaluate the designs
Lesson Three
- Learn to utilize value studies
- Work on developing rich color schemes
- the properties of color
- developing color schemes
- how to use color to improve your quilts
Lesson Four
- Determine the size of your quilt
- Build your quilt on the design wall
- Evaluate and critique your layout
- learn what questions to ask yourself
- seek outside advice
- Construct the quilt
- Quilt your top
- a brief overview of machine quilting
- choosing how to quilt
- Finish your piece
- narrow binding
- facing
- Add a sleeve and a label
- Bonus value project
Supplies Required for Workshop
-
Supplies Required for Workshop
Do you want to know more about the way in which you can bring your pieces to life, emphasize certain areas and make the piece balance as a whole? Well, this is the class for you!
You will need inspiration. Start looking for it now and we will discuss it at length in Lesson One. Keep all your inspirations in one place. This can be a notebook, a binder, an old shoe box, or a folder on the computer.
Into this inspiration notebook, put any pictures, paintings, photographs, doodles, or writings you find inspiring. This will be the well to which you return to time and again when your imagination needs replenishment.
Browse art sites online to find paintings that have stood the test of time. We will be looking at them in class, so save those that appeal to you in a folder on your computer for easy reference.
Find pictures where the color really appeals to you, such as nature scenes. Find 3-6 color pictures of contemporary quilts that you really admire to get a sense of the direction in which you might go to learn more about your taste and design sensibility.

Look for a wide range of colors in value and intensityFabric
- For the foundation of your quilt, a piece of very lightweight, non-fusible, gridded interfacing is slightly larger than the anticipated size of your quilt. If you cannot find it, any ordinary lightweight non-fusible interfacing, fine muslin, or any other very lightweight cotton.
- Approximately 1/4 yard of at least 25-50 fabrics that are either solid or read as solids from a distance. Colors should be similar to those of the color inspiration picture you choose. Have a good range of values, from very light to very dark. For example, if your main colors are to be yellow and purple, have lots of different yellows and purples. Do not buy anything until you have decided what you are going to make.
- batting or flannel (sufficient for your quilt)
- fabric for quilt back
- basting thread or safety pins
Tools and other supplies
- rotary cutter, board, rotary ruler guides, spare blade – or scissors
- marking pencil (white charcoal or silver) for marking fabric for cutting
- freezer paper (if you prefer to make templates, otherwise do not bother)
- sewing machine in good working order
- thread, needles, pins, scissors
- design wall or vertical boards on which to pin the work
- iron, ironing boards
- plain paper for sketches and notes
- tracing paper
- ruler, pen, pencil
- a few colored pencils or felt pens. Light, medium, and dark grey pencils and a black felt tip pen are very helpful for value studies.
- An old picture mat (mount) you can cut in two or a piece of black paper, cardstock, or poster board
- Optional: Inspired to Design by Elizabeth Barton (available from your local quilt store or Amazon).

