- Description
- Requirements
When you sign up for this on-demand class, you can choose from 10 or 14 weeks of dedicated time with Elizabeth. You can start as soon as you register or dedicate a date you wish to start. Be sure to let us know if you dedicate a date.
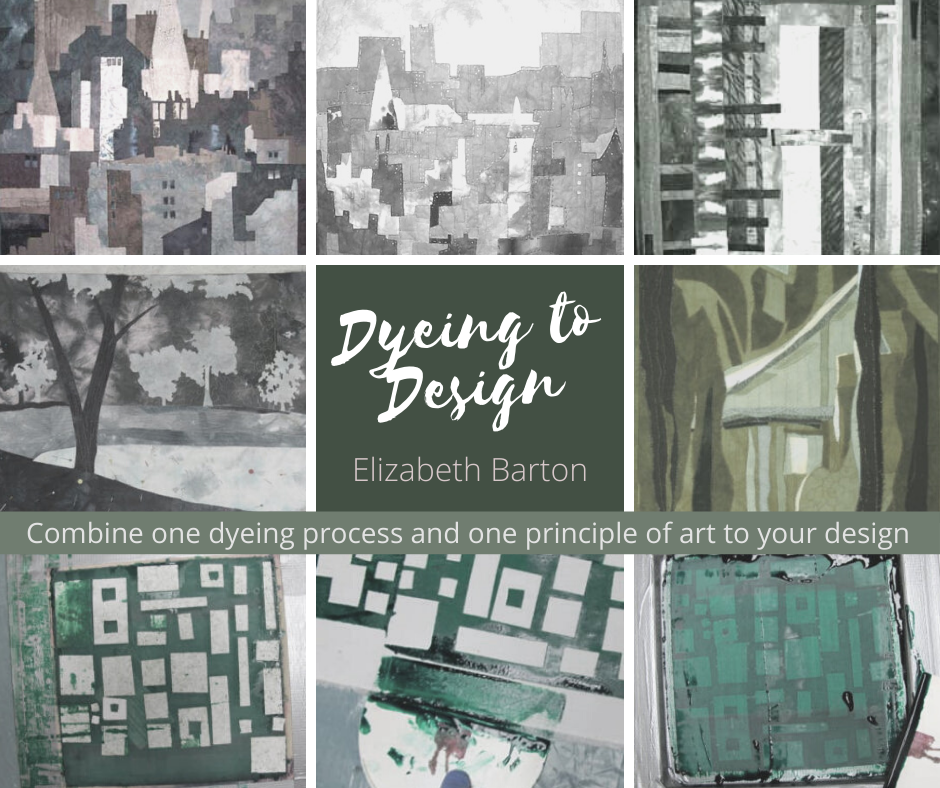
Five Lessons - five techniques - five quilts! In this class, you learn how to dye using a low water method, how to achieve gradations of color (so important and useful in good quilt design), how to do arashi shibori AND two kinds of screen printing using dye. A smorgasbord of dye techniques… plus tips on making a small quilt to showcase each technique.
Creating your own fabrics is an enticing prospect, but they can be hard to use. Let Elizabeth help you solve that mystery. Each lesson is divided into two sections: dyeing and designing. You will learn to think about what the fabric wants and design your quilt to use your dyed fabrics to their best advantage. Elizabeth will show you her method for dyeing values, gradated colors and arashi shibori. She will then teach you to thicken your dye and use it for silk screening and other painterly applications. If you already have a closet full of hand dyed fabrics, you can skip right to the design and construction of your quilts. If you only wish to learn how to dye, make arashi shibori fabric, or screen print - this class will also work for you.
Level: Intermediate to advanced. The dyeing is for any level but the design is more advanced. You will not be taught construction in this class. Several short dyeing videos are included.
Note: Once purchased, you can access the class data any time, 24 hours a day and you get immediate access. (if you don't have an account we suggest you sign up for one prior to purchase)
Outline
Lesson One: The Importance of Value
- The plan for the quilts
- The dye solution
- Gradations
- Designing with gradation dyed fabrics
- The value of value
- Choosing a design
- contemporary representational
- contemporary abstract
- traditional
Lesson Two: The Importance of Color
- The color poster
- The colors of your quilts
- analogous
- complementary
- Dyeing the 12 colors of the wheel
- graying the colors and mixing neutrals
- Which color schemes work best
- Colorist artists and how to use their ideas
- Making a quilt from your colors
- Color quilt suggestions:
- pre set rule
- random grid
- random strips
- transparency
- Advantages and disadvantages of color
Lesson Three: The Importance of Texture
- Texture
- Shibori dyeing
- Arashi dyeing
- Arashi dyeing the easy way
- Researching arashi dyed quilts
- Developing designs for arashi dyed fabrics
- Advantages and disadvantages of distinct patterns in fabric
Lesson Four: The Importance of Shape
- Creating shapes with dye
- How to thicken the dye
- How to make a simple screen
- Preparing the fabric for screen printing with dye
- Printing shapes
- squares
- squares and rectangles
- triangles
- circles
- Making a quilt from shape-printed fabric
- Printing shapes on cloth for a particular design
- Advantages and disadvantages of shape printed cloth
Lesson Five: The Importance of Line
- Creating lines with dye
- Four methods for printing lines
- drawing with thickened dye
- stencil
- torn paper
- using a syringe
- Advantages and disadvantages of line
- Linear design possibilities
Supplies Required for Workshop
The central idea of this class is to explore how to utilize the basic elements of design in creating art quilts made from hand dyed and hand surface designed fabric.
There is often a temptation to be so seduced by the fabric we have made that we merely want to make the quilt about the fabric itself but, for a successful quilt, you really need a bit more than that. A strong formal structure, a pleasing and interesting arrangement of shapes and values, and an overall unity is necessary for a successful piece.
Too often, I see poorly designed quilts using absolutely wonderful pieces of fabric. Alas, the fabric cannot arrange itself into wonderful compositions. That is for the maker to do and it is going to be fun! We are going to make several small quilts focusing on different design elements.
Fabric
A minimum of 10 yards of good quality, prepared for dye (PFD) white cotton. We will use about 2 yards each week.
Test Fabrics 419, Kona or Kauffman cotton are all good, or use your own favorite PFD cloth.
Dyes
6 small containers of MX fiber reactive dye in the hues listed which will ensure our being able to dye cool and warm colors of all the primaries. The generic dye name is given after the color and the prochemical.com numbers are in parentheses.
| Sun Yellow MX-8G (108) Strong Orange MX-2R (202) Fuchsia MX-8B (308) |
Basic Blue (400), (MX-R) Turquoise MX-G (410) Black MX (629) |
I suggest you buy a 2 ounce (approx 57 grams) container of each dye unless you really want to get into dyeing, in which case a larger container is probably more economical.
In other countries, use your browser search engine to find a local source of MX fiber reactive dye. If you already have dye, but in different colors, use those. I will discuss the rationale for my colors in Lesson Two on color.
Dyes are available from
USA: www.Prochemical.com or www.Dharma.com
Canada: www.gsdye.com/Canada/ProcionMX.html or www.maiwa.com
UK, Australia and New Zealand:
http://www.truetiedye.com
www.kemtex.co.uk
Check to see if it makes sense to buy dye from a US supplier and pay postage, rather than buying in your country.
Dyeing Supplies
- Urea (humectant) (8 oz) (227 grams)
- Soda ash (also known as dye activator) ((16 oz) (450 grams)
- Print Paste Mix SH (dye thickener) 8 oz. (alginate)
- detergent or soap: Any kind is fine as long as it does not contain any additives that might remove color. Personally, I usually use Dawn dishwashing liquid soap which works the same as Synthrapol and is gentler on your hands.
Other Supplies
- A 16oz (500 ml) screw top jar in which you will mix and shake up the dye. Plastic is safer, but glass is fine if you are careful.
- plastic containers to hold fabric as it is being dyed - plastic bags that zip tightly closed or used plastic food containers are fine. Be sure there are no holes!
- 2" wide plumbers’ pipe, white (PVC pipe). 16"-20" in length, at least one piece
- elastic (rubber) bands
- foam brush - any width
- small funnel for pouring dye into the containers
- 24 oz (750 ml) plastic bottles (from water or soda) with the tops cut off (as many as you have lengths of plastic pipe) Go larger if you cannot find them this size. Or you can put the pipe inside a Ziploc bag and into a bucket.
- SIX 16 oz (500 ml) plastic bottles for storing dye solution. Squirt bottles with tops are ideal.
- set of measuring spoons: 1/8 teaspoon, 1/4 teaspoon, 1/2 teaspoon, 1 teaspoon, 1/2 tablespoon, 1 tablespoon (metric measurements: .5ml,1ml, 2ml, 5ml, 7.5ml, 15ml)
- small plastic pitchers or measuring cups, 8oz (250 ml) or 16 oz (500 ml), to be used only for dye. If you have two of each, it is more convenient. Any containers that are approximately these sizes are fine. Warning: Once any utensil has been used for dye, you cannot reuse it for food or drink.
- dust mask and rubber gloves - I like the thin surgical ones.
- old picture frame or stretcher bars to make a screen (If you wish to buy a small screen, see *** below)
- small piece of sheer polyester fabric (as for window curtains) about 2" wider and longer than the stretcher bars or picture frame.
- staple gun
- small piece of duct tape or polyurethane paint to form a dye well on the screen
- plastic hobby syringe (Hobbico Hobby Syringe 12cc Curved Tip HCAR3785 is available from Amazon or many hobby stores)
- paper and pencil for sketching and planning
- sketching paper for designs
- usual sewing tools and supplies: rotary cutter or scissors for fabric cutting, sewing machine in good working order, batting and backing fabric
*** If you would rather purchase a screen, order one about 18" by 24", which is an easy size to handle and yet big enough for you to screen a larger image if you wish. You need to get a fairly coarse mesh, 8XX or 10 XX, or some use the term 110. If not sure, call the company and ask them which screen mesh density they recommend for fabric printing. The dye is fairly thick and it is very hard to get it through the fine mesh you would use with printing ink.
Here are some suppliers:
http://www.standardscreen.com
http://www.screenprintingsupplies.com
http://www.dickblick.com
There are many more companies, and I have not personally used most of them, but you can get an idea of what is available from perusing their sites. I have not found any advantage using a metal screen and they are more expensive, so I would just get a plain wooden one if you are buying one. You don’t need a large screen but you do need a fairly coarse mesh:

