- Description
- Requirements
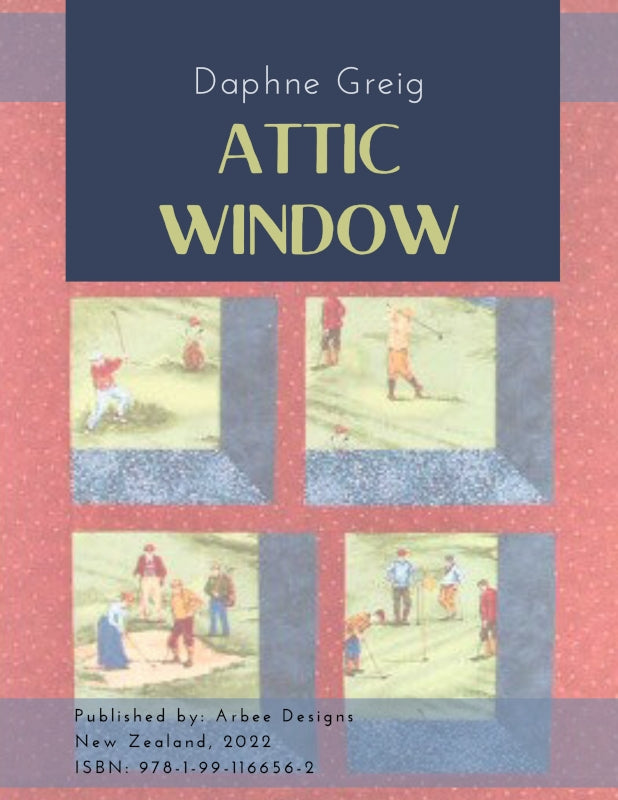
What's in your Attic Window? Is it a country or woodland scene? Wild animals or fish in a pond? A bright children's print? Theme prints are perfect for windowing. Daphne will show you how to explore a variety of window options to suit your window fabric or to design your own one-of-a-kind quilt.
You will learn to select the supporting fabrics and sew traditional mitered windows with Daphne's fool-proof technique. This is both a design and sewing workshop ebook and is suitable for confident beginners with rotary cutting and basic quilt-making skills.
OUTLINE
Part One:
- an Attic Windows quilt differs from a real-life view of a window
- to determine the scale of your fabric
- to try different window sizes and select the best ones for your fabric
- to draft an Attic Windows quilt layout for your particular fabric
Part Two:
- make a cutting chart for your quilt
- calculate how much fabric to buy for sashes and frames
- select fabrics for sashes and frames
- cut your fabrics
- sew mitered window sashes
Part Three:
- sew the frames to your windows
- sew the windows together
- audition and add borders
- finish your quilt
You will learn to design an attic window quilt to suit your particular fabric. Ideas to test design options will be presented and practiced.
You will learn by exploring a variety of designs using graph paper and pattern drafting techniques.
You will experiment with a variety of supporting fabrics to enhance your design and then learn a fool-proof method for cutting and sewing your project.
When you have completed this ebook, you will have learned how to make perfect miters every time. This skill can be used in many future quilt projects. You will also learn how to select fabrics for their value, rather than color.
To complete this ebook successfully, you must already know how to use rotary cutting tools, sew an accurate 1/4" seam and have basic quiltmaking skills. For instructions on getting a perfect 1/4" seam and a review of rotary cutting techniques, please see our online Library of lessons.
Fabric
Main fabric for windows: choose a scene print or a print with any motifs widely spaced across the surface or a set of 'companion' prints that complement each other - any fabric you want to 'window'.
Here are some possible choices (I have placed a penny in the scans so you can see the relative size of the fabric images):

Buy a minimum of 1 yard but you can buy more if you want a larger project. One yard will make a wall hanging size; 2 yards will make a lap size.
You will need a minimum of TWO other supporting fabrics for your project. We will discuss how to select these fabrics and how much you will need in the second part, so don't buy them now.
Other Supplies
- Graph paper for designing (I recommend the quarter square paper – 4 squares per inch)
- Sharp pencil, eraser and drafting ruler
- Neutral piecing thread
- Sewing machine in good working order
- Basic sewing kit (scissors, pins, fabric markers, etc.)
- Rotary cutter, mat and ruler (I recommend a 6" x 24" ruler with the 45° angle clearly marked AND a 12 ½" or 15" square ruler for cutting the windows)
- Plain white paper - at least EIGHT 8 ½" x 11" sheets and paper cutting scissors
- Scotch tape or masking tape or one of the 'temporary paper glue' dispensers. The one I use is called 'DryLine' and I buy it at Office Depot. It is the yellow (temporary) one, not red (permanent).)
Optional
- Colored pencils
- Design wall (Although I have this listed as 'optional' it is a very important tool. It can be as simple as a piece of flannel or batting pinned temporarily to a wall or a more permanent surface covered with flannel and hung on your wall. If you have not used a design wall, please try one. You will find it invaluable when designing your quilts.)
- Choosing a selection results in a full page refresh.
- Opens in a new window.

