- Description
- Requirements
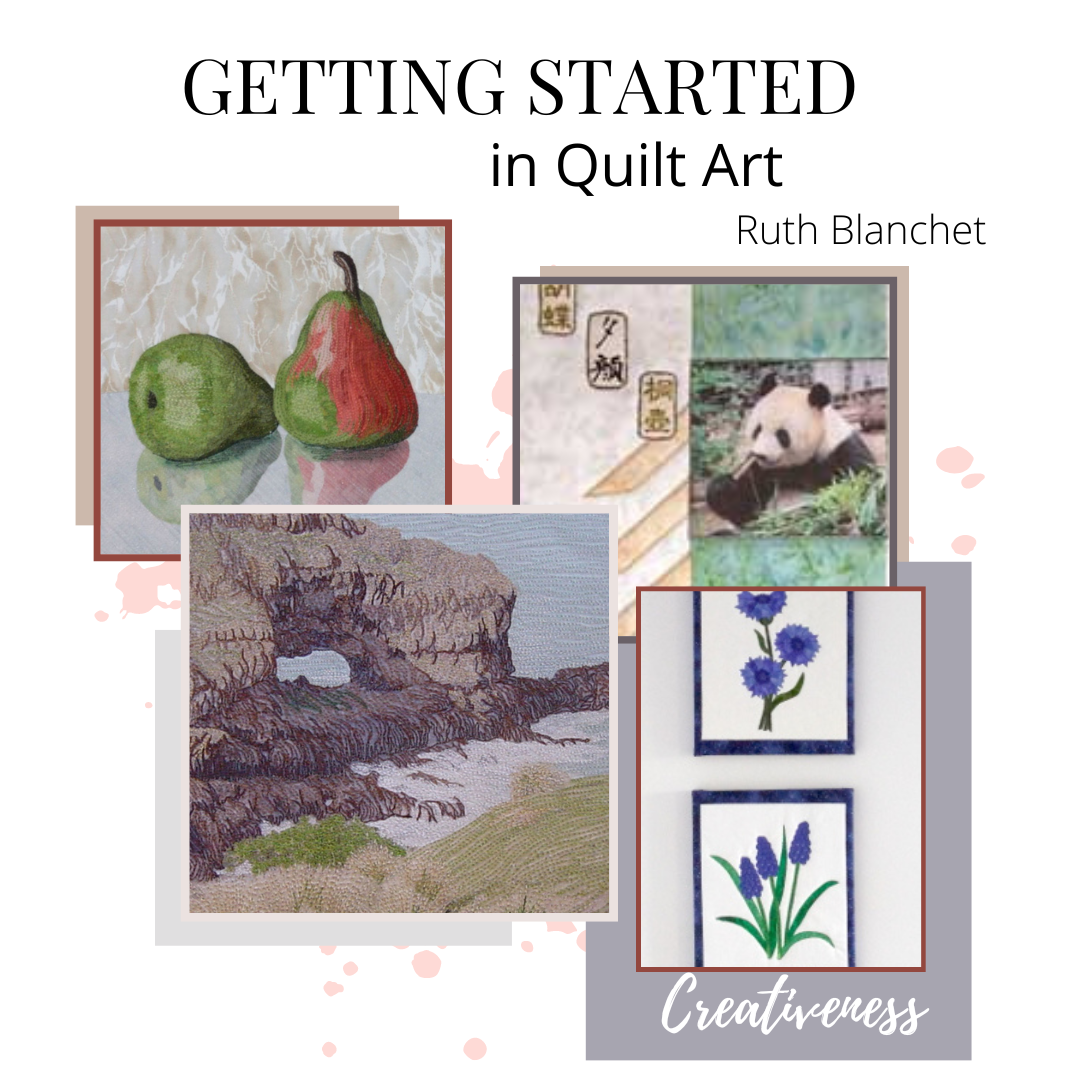
Unlock your creativity and take the first step into the world of art quilting with the Getting Started in Quilt Art online workshop! Learn at your own pace and discover how to transform fabric into expressive, gallery-worthy pieces. This course guides you through finding inspiration, coordinating colors, and mastering techniques like straight piecing, appliqué, shading, and threadwork. Throughout the workshop, you'll create several small quilts that can be displayed as framed artwork or kept as a reference collection.
This class will give you starting points for several different areas in Quilt Art. From finding inspiration and color coordinating, to straight piecing landscapes, applique and progressing to more advanced work of shading, shadows, and threadwork. Develop a background, add your own ideas and get inspiration from others in the class. During the whole workshop, you will make several small quilts that you can display as framed artwork or keep as a collection for reference. All your work will be unique and different from other students in the class, yet their work will give you added inspiration and creative ideas.
Note: Once purchased, you can access the class data any time, 24 hours a day and you get immediate access. (if you don't have an account we suggest you sign up for one prior to purchase)
Note: Do NOT get overwhelmed by the length of this list, it looks a lot however, most fabrics you will find in your stash as projects are small and only require small amounts. In most cases no more than a fat eighth is required, often much less. All exercises are optional, however the more experimenting you do during class time, the more you will get from the class.
General requirements:
- Digital camera, smartphone, or another method of taking photos
- General quilting supplies such as rotary cutter, mat, scissors, pins, machine needles, thread for piecing etc
- Pencil for drawing – preferably a mechanical pencil
- Teflon sheet, parchment paper or baking paper
- Lightbox may be useful
- Sewing machine with free-motion/darning foot and walking foot or equivalent (dual feeds)
- Stabilizer – heavy iron-on non-woven interfacing such as Pellon 808 craft fuse
- Fusible webbing – I recommend either Wonder Under or Vliesofix. Non-paper backed fusible is also suitable for some exercises (this is discussed in lessons)
- Small amount of cotton batting - excess from larger quilts is ideal. See individual exercises for actual amounts
- Note book – preferably blank pages
Requirements for each exercise Note: Unless otherwise stated, no more than a fat eighth is required
Lesson One
Exercise One:
Does not require fabric cutting, only access to your stash for fabric selection. If you need to increase your stash, charm packs and jelly rolls will give you a good variety of colors. Note: Fabrics selected may be used as one of your projects later in the course.
Exercise Two:
- ONE 5 1/2" Fabric motif or photo printed on fabric
- ONE or TWO medium fabrics to match colors of printout/motif
- ONE light fabric
- ONE dark fabric
- Any small embellishments or appliqués to enhance the printout/motif – optional
Lesson Two
Exercise One:
- A minimum of FIVE fabrics ranging from light to dark, any colors (five fabrics work fine but nine fabrics are ideal). 2” strips are ideal, however, either the lightest or darkest requires a 4” square
Exercise Two:
- Freezer Paper – approximately 9” x 15”
- FOUR landscape fabrics ranging from dark to light (your lightest may be sky color and your darkest may be watercolor)
- ONE contrast fabric – needs to contrast the four landscapes fabrics. It will be used as tree trunks. See photo.
Lessons Three
Exercise One:
- Two contrasting fabrics either light and dark fabrics or one floral and one plain fabric or two fabrics on opposite sides of the color wheel eg orange and blue. Requires one fabric to be 12” x 18” and the other to be 12” x 22”. Actual size is not important however ensure that pieces are no less than 9” wide and one should be slightly longer than the other
- Paper the size of your largest piece of fabric – optional (may use plain or freezer paper)
- A third contrast fabric – optional (only a small amount required)
- Small scraps of fabric for applique. You need both light and dark fabrics that will contrast the background fabrics
- Fusible webbing
- ONE piece the size of the largest contrast fabric (non-paper fusible is ideal)
- Small amount for applique and third contrast (requires tracing so paper backed fusible is better suited)
- Sandwich sample for stitching practice made from 10” square of cotton batting, cotton fabric, and stabilizer (see general requirements)
Exercise Two:
- SEVEN fabrics in one color ranging from very dark to very light. Solids, one-color batiks, watercolors & hand-dyed fabrics work best. Avoid floral and busy fabrics. Example: If you are using a purple color range, fabrics can be various shades or tints of purple and even extend to very close colors on the color wheel such as blue-purple, however, should not include colors outside this area.
- ONE contrast fabric for the background
- A second background fabric slightly darker than the one above for shadow, small amount only – optional
- Machine embroidery threads to match fabrics
- Approximately 1/4 yd of fusible webbing
- Batting and stabilizer slightly larger than the background fabric
Lesson Four
- Machine embroidery and other decorative threads - may include rayon, metallic etc
- Yarn and cording thread – optional
- Thread stand would be useful – optional
- Fabric paints or aquarelle pencils/crayons – optional
- Stretcher bars and staple gun – optional
- Extra backing and batting for finishing off exercises may be required
- Binding fabric for finishing off quilts may be required depending on the method used to finish quilts

