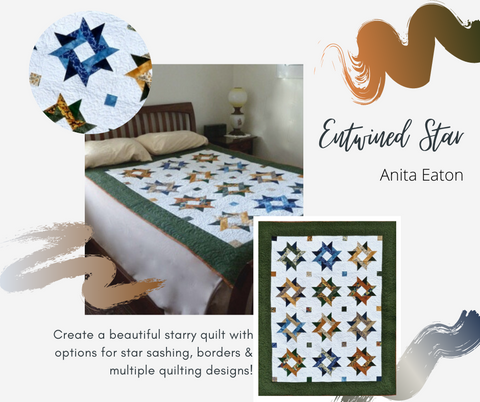
Entwined Star is definitely a popular pattern. Anita designed this block many years ago and it has always been a favorite of mine so today I will add some extra tips to help you create your beautiful Entwined Star quilt.
Anita made hers with all different blocks - a scrappy quilt you might say but did you know there is no reason why you cannot do all the blocks the same? For the 12 block quilt that would mean you would need 3/4 yd of both medium and medium dark fabrics, 1/2 yd for the dark fabric, and 2-1/8 yd for the background, plus your borders and binding of course.
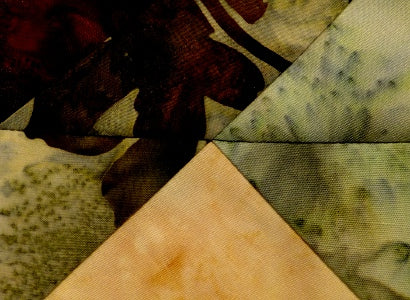
For my second block, I used autumn colors of green and burgundy with a tan background and as I made it, I realized I had missed adding a couple of tips so today I want to share those with you.
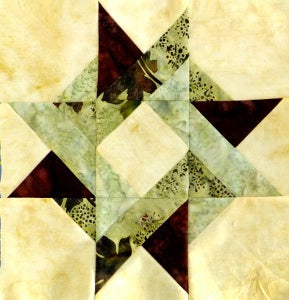
Second Star Block in fall colors
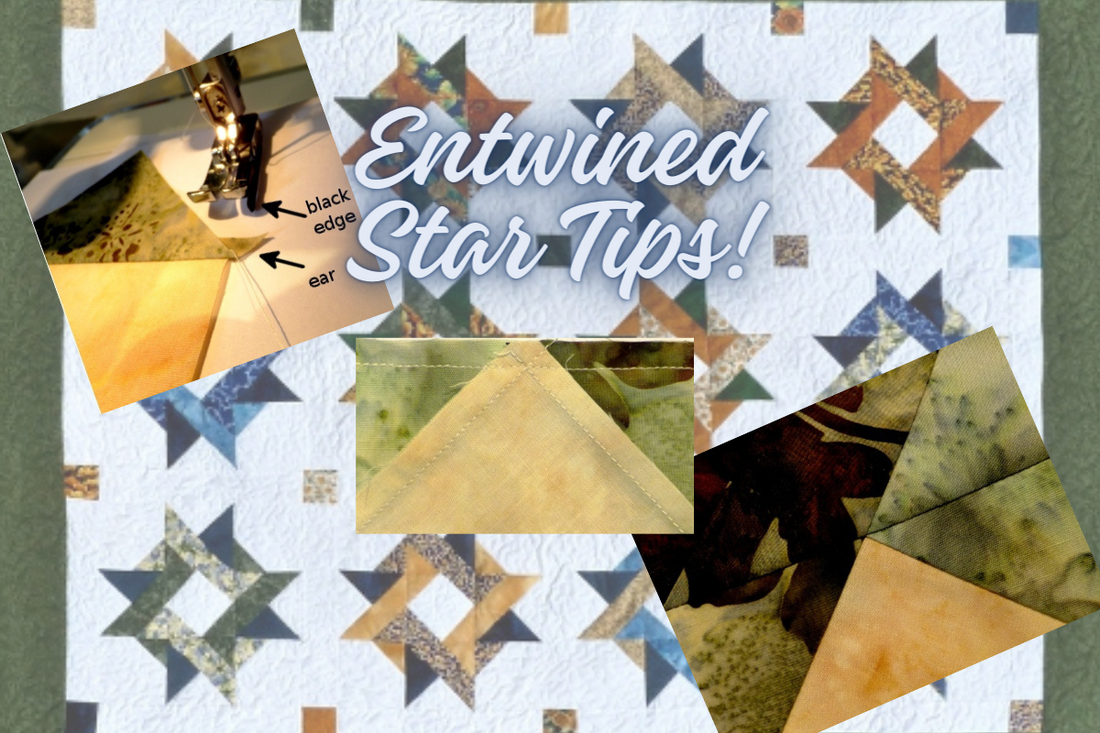
Tip 1: When sewing triangles to squares you create little ears at the end of the seams. These don't bother me so much when sewing on my Bernina with my quarter inch foot as it does not have a black guard on the side but when I sewed with one that did have the guard, it became a real problem when I didn't trim those ears off. They often got caught on the guard and twisted the fabric making me sew crooked. I soon learned to trim them off before placing the next seam under the foot again.

Triangles and Squares create ears which should be trimmed off
Tip 2: When sewing the middle units of the block, sew with the center unit on the top so you can see exactly where to sew through the point. You can see below how I have sewn directly through the point where the seams cross over.
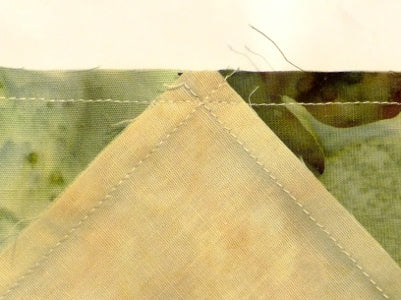
Sew with the center unit on top and the result is this beautiful matching point.
Seam points match exactly
I do hope my tips were useful when constructing your "Entwined Star". Remember to check back to my first block blog post for extra tips: Star Quilt How Can I Help and if you have any further questions, please leave a comment below.
So what comes next? More blocks of course and after that I can add sashing and borders. But that's for another day. In the meantime, why don't you join me in making this quilt. You can find the pattern here: Entwined Star pattern or for in depth instructions, download the eBook workshop. (get 25% off this ebook workshop when you sign up for our newsletter and use the code 'entwine' at checkout)
Happy Quilting!