We now have all the blocks made for your sample quilt. You should have a total of 35 blocks made up of 7 different blocks. You can find all block by following the links below.
Did you lay them out and look at them? It's a good idea to. Use a design wall, table, or floor and make sure each block is facing the correct way.
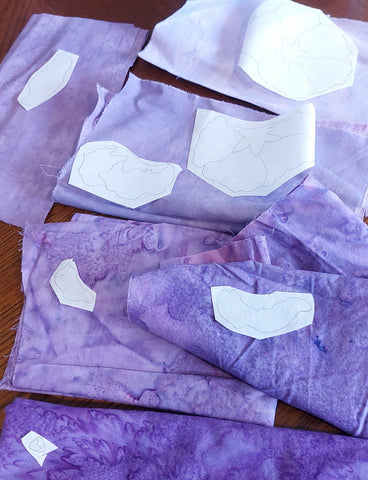
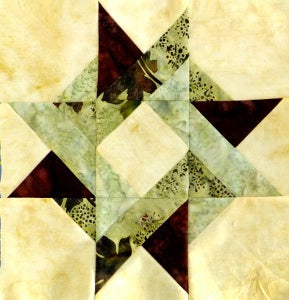
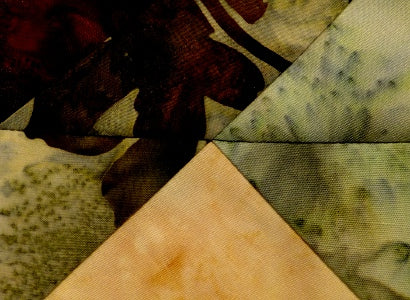
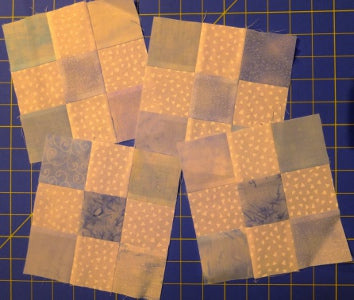
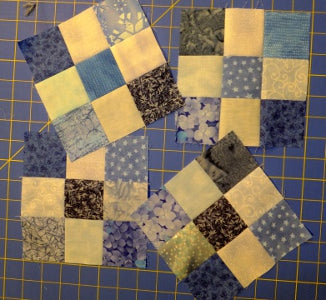
I noticed I'd used two fabrics in the wrong place on one of my blocks. It's easy enough to do. Can you see what I did and in which block?
 blocks made for sampler quilt, but one is wrong
It may be difficult to see at this stage, but once they are all displayed in their correct position and rotated accordingly, it was easy for me to see the design was not working. Fortunately, I saw this before sewing the quilt blocks together so an easy fix. It would have been much more awkward later.
Did you want to change the layout? You could do that too, that option is yours - remember this is your quilt and you can make it the way you wish. Make a final decision before continuing on.
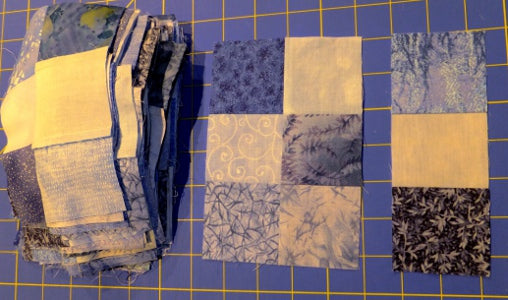
Once you are happy with all your blocks and layout, you can begin joining the blocks into rows. There are 4 different rows to make, 7 rows in total. Rows 1, 2, & 3 are identical to rows 7, 6, & 5 which are flipped upside down.
 blocks laid out in rows
To speed up this process you can chain stitch the blocks together. Chain stitching is done when you work on the same section of each row until that section is completed for all rows then you move onto the next section. Think of it as a car assembly line where all pieces are produced in one area then they move onto the next area ready for the next section.
In our quilt sampler, you can sew the first two blocks together in the first row and without cutting the thread, sew the first two blocks of the second row together. Again, don't cut the thread and sew the first two blocks of row three, row four, five, six, and seven. Each set of blocks will be linked together with a thread.
These may be cut when the line is complete and put back in their respective rows OR continue by adding the next block in the row. Alternatively, move onto the next two blocks and do the same thing until you have three sets of two block per row, then go back and join those together until the row is completed.
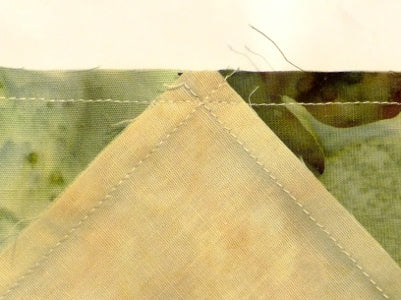
You can choose to press the seams after the row is complete or after each line of sewing is complete. I prefer the latter as it makes pressing easier to manage. With my iron set up close to me, it makes easy work. Be sure to press the seams in opposite directions for each row - so row 1 can be pressed to the right, then row 2 to the left, 3 to the right and so forth. This way they will butt nicely together when joining.
 red arrows show pressing direction
Now that your blocks are all joined together in rows, you can join the rows together. Remember to keep them in the right order. This time it doesn't matter which way the seams are pressed because there is no matching to be done.
 Join the rows together and press seams
Congratulations on piecing the blocks together. Now that everything is joined together, you can go ahead and remove any paper from the Flying Geese blocks. This is easy to do just fold along the seam lines and tear it out. Do so gently though as you don't want to stretch the stitches out of shape.
Let's continue on.... we have a border to add.
On my quilt I'm going to add one border, you may choose to add more to make it bigger.
When cutting borders it is known that if you cut the strips from the length of the fabric it will stretch less than if you cut the strips from the width of the fabric. Cutting from the length of the fabric naturally takes more fabric so I often cut from the width. Before you begin, I might suggest you read this lesson about measuring and adding borders to your quilt: Borders Lesson
With our sampler quilt being 42 1/2" long at this stage, we should be able to cut our strips from the width of the fabric (as long as your fabric is 43" wide - be sure to measure it first).
Before we get started we really should check that measurement though. Measure it through the center of the quilt lengthwise. Is it 42 1/2" long? Is it shorter? Is it longer? You can adjust your seams if you like to make the correct size or use your new size to cut the border strips since we won't be adding a pieced border.
Why do we measure through the center of the quilt? We do this so that we get an average measurement between the two sides. The correct way is to measure the length along each side too. Add the three measurements together and then divide that by three to get a true average length. When you cut the side border strips this length it will keep the quilt square and in shape. One of the most important things to remember when adding borders is to always cut the border strips to the correct length.
So now that you have your measurement cut two strips this length by 3" wide. This will make a 2 1/2" finished border. If you have extra fabric you might want to make it a little wider.
Find the middle of each border strip and match them to the middle of each side of the quilt. Be sure to have raw edges even and right sides together. Match ends of strips to ends of quilt too. Add as many pins as you need positioning pins perpendicular to the seam.
Sew your border strip on. If the strip seems a little loose or longer than the quilt sew it with the quilt on top. The machine will naturally pull the quilt to fit without making pleats or gathers.
 border sides strips have been sewn in place
When you have both strips sewn in place press the seams toward the border.
Next measure through the width of the quilt to determine the length for top and bottom strips. The measurement needs to include the border strips you just added. Cut two more strips 3" by the width measurement. It should be 35 1/2" if all your 1/4" seams are correct.
Do the same thing by matching centers, pinning, and sewing in place.
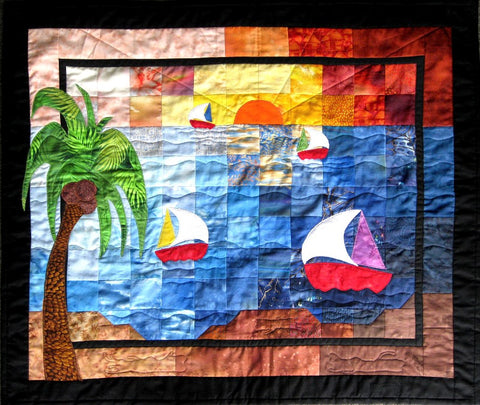
 2 1/2" borders have been added
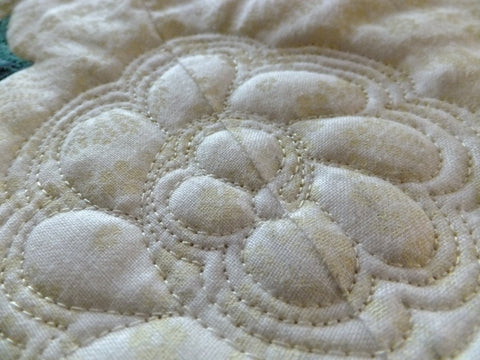
We are done, just the layering and quilting to finish. Would you like to learn how to quilt this now? I know some of you would. Others will prefer to send their quilts to a longarm quilter to have it done. That's totally up to you. I will be quilting mine myself on my regular sewing machine and I'll post the results... maybe have a demo or two, here on my blog in a few weeks. I hope to see you then!
And if you missed it, you can purchase all the blocks and quilt pattern with 14 bonus patterns here: Sampler Quilt with extras
]]>


.png)