- Description
- Requirements
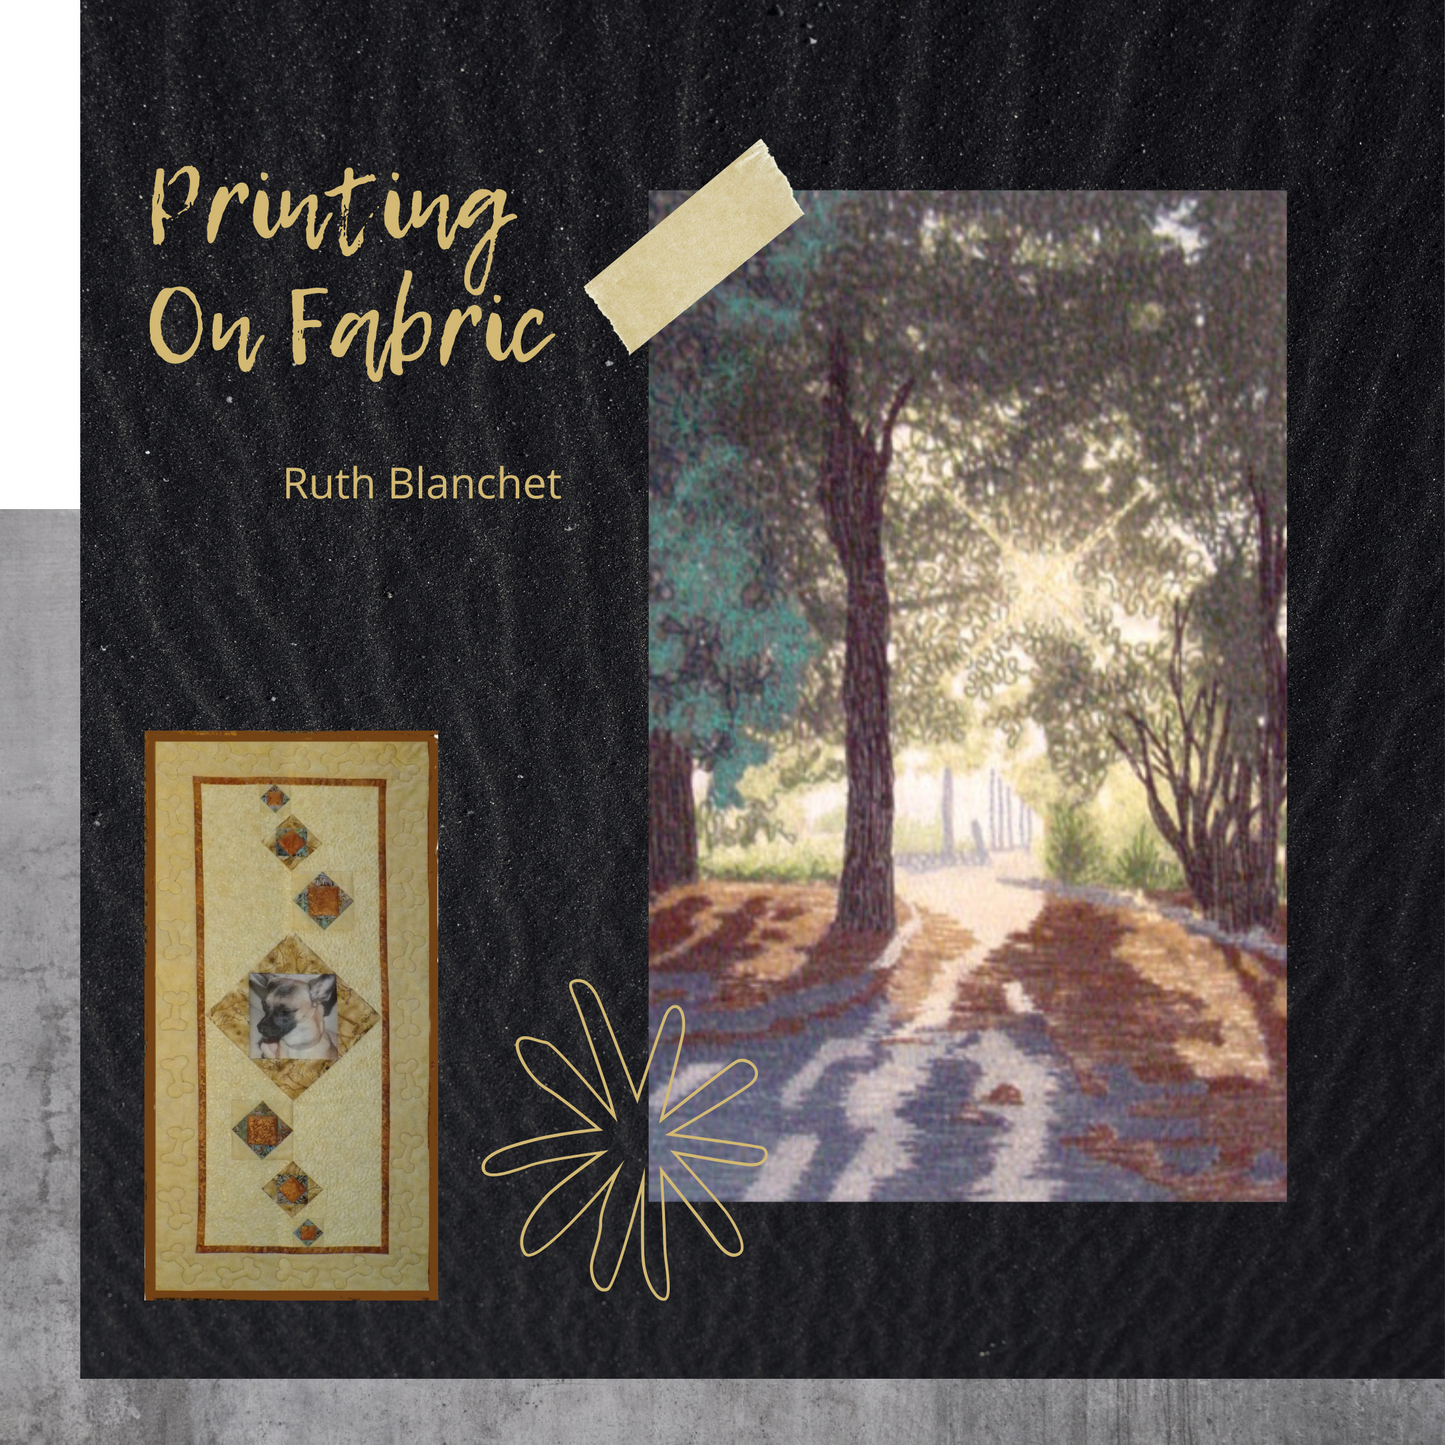
Learn how to print your favorite photographs onto fabric using your home inkjet printer and computer. Students will be taught the process of preparing fabric ready to accept the photographic print. The class includes four different creative ways to use your fabric photos in projects. By the end of this workshop, you will be able to make quilt labels, fabric books, a memory wall hanging, and last but not least, a scenic thread-painted quilt. This exciting technique will open the doors to many possibilities in quilt making.
Level: basic quilting and sewing skills, must be comfortable with your printer and scanner. You need either MS Word or a graphics software program you are familiar with, to create labels.
Note: Once purchased, you can access the class data any time, 24 hours a day and you get immediate access. (if you don't have an account we suggest you sign up for one prior to purchase)
Tools
- Inkjet Printer with sufficient ink (it is a good idea to have replacement cartridges on hand if you are getting low) A laser printer will not work for this process.
- digital photos to be printed
- iron
- clothes hangers (skirt hangers with clips are ideal) or thick towels for drying fabric
For pre-treating your own fabric, you will need the following:
- Bubble Jet Set 2000 solution
- 200 count cotton or silk fabric
- a tray or zip-lock bag to soak the fabric in.
- somewhere to hang your fabric so it can drip dry – I used a skirt hanger and hung it over the bathtub.
If not pre-treating your own fabric, you will need:
- any commercial fabric sheets such as Miracle fabric sheets or Color Texture fabric sheets, which come backed with paper
- OR pre-treated fabric by the yard
Notes: When purchasing pre-treated fabric sheet be sure to read the package carefully. Some fabric sheets are not designed for washing while others are. If you are in doubt of which to purchase, we will have discussions and recommendations in the first lesson.
Peel ‘n’ Stick by Printed Treasures is not suitable for the projects in this class. It is ideal for adding fabric prints to projects that do not require stitching, such as frames and plastic boxes.
To feed fabric without backing through your printer, you need either
- freezer paper, either pre-cut or on the roll. (When using the roll, I prefer to cut a sheet slightly bigger than your paper size and leave it sitting under some large heavy books overnight to flatten it and remove the curl. )
- OR page-sized Avery labels
All projects are optional.
Quilt Label
- Basic software for adding text to pictures. Microsoft Word can be used.
- Pre-treated fabric ready for printing or commercial fabric sheet.
Photo Quilt
Measures 15" x 20" or [22 1/2" x 30"]
Note: Measurements for large size are given in square brackets.
- FIVE printouts of scenes, family, pets, or your favorite photos in the following sizes:
- THREE 3 1/2" [5"] printouts (A)
- TWO 2 1/2" [3 1/2"] printouts (B)
Note: These printouts may vary in any size smaller than listed, so if you have a smaller printout you want to use, let me know and we can discuss ways to add borders to bring it up to size. Larger photos require different measurements for the whole quilt, so they will not be appropriate for this project. Since you will not want to quilt across the photo, small sizes usually work better. If you wish to use large photos, these need to be reduced before printing. This will be covered in class.
- Assortment of light fabrics (only small amounts required of each)
- Assortment of medium/dark fabrics (only small amounts required of each)
- 10" [1/2 yd] medium fabric for the outer border
- Thread for piecing and quilting
- 17" x 24" [25" x 32"] rectangle of batting (This and the backing include 2" extra on all sides)
- 17" x 24" [25" x 32"] rectangle of backing fabric
- 2" strips of binding fabric, enough so that when joined on the bias the length will be approximately 75" [100"].
- Embellishments can be also added if desired.
- General sewing supplies such as sewing machine, pins, needles, scissors, rotary cutter and rulers.
Fabric Book
- scrapbooking journal or pages. Pages can be as simple as an old baby book, those ones with extra thick pages, or just thick cardboard.
- fabric printouts no larger than the pages of your book
- any embellishments including scraps of fabric, yarn, and scrapbooking items
- general sewing supplies
- glue may be useful
Embroidered Print Project
- ONE sheet of pre-treated fabric ready for printing or a commercial fabric sheet
- embroidery threads.
If using my printout, I used Mettler threads in these colors:
- white (02) and blue (787) for the water
- four browns (712, 711, 511, 515) and one green (903) for the rocks
- three greens (714, 547, 952) and two tans (515, 781) for the grass and tussock.
If using your own printout, any embroidery threads to match the fabric colors of your piece
- Small amount of fabric for bordering and binding your quilt.
- 17" x 14" rectangle of batting and stabilizer
- 17" x 14" rectangle of backing fabric
- General sewing supplies
- Small beads (optional)

