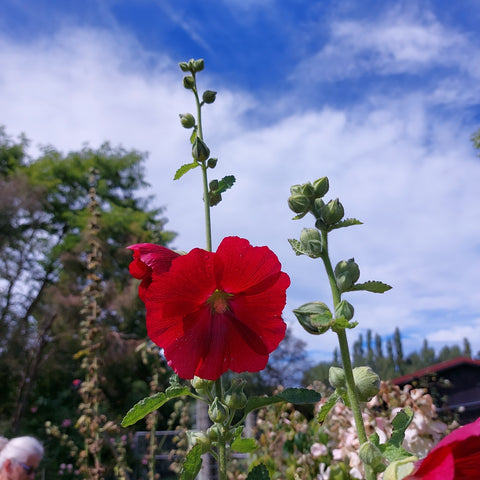
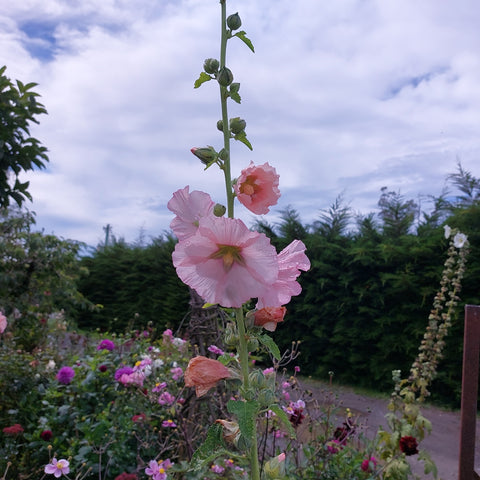
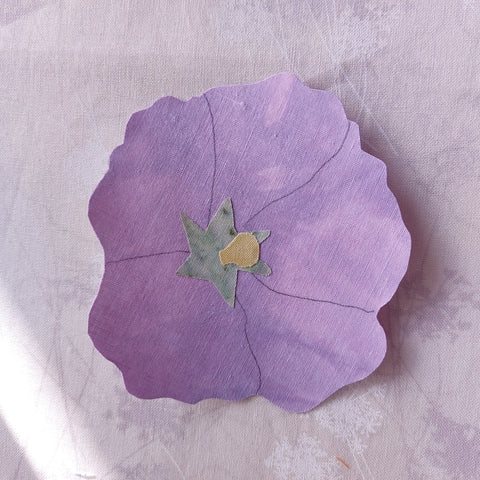
For mother's day this year, I decided to design a new flower block. This will be my 62nd. I've been meaning to make this block for a while as I took these beautiful photos of some hollyhocks over a year ago.
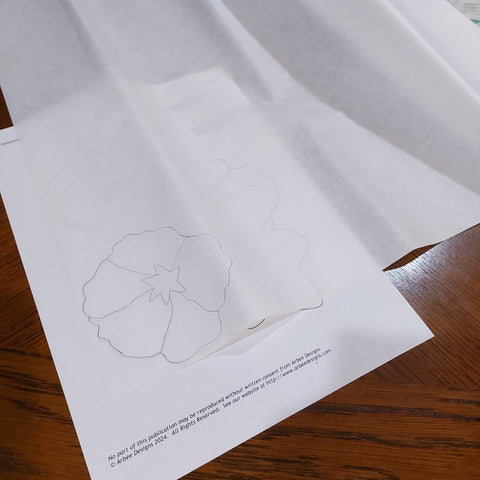
Using the photos, I began sketching my design. Once I had my sketch, I transferred it to the computer and used my graphic editor to draw in solid permanent lines ready for the pattern. This is the longest process of writing a pattern and often I find myself going back over each line to adjust it to improve it.
When I have the design I want, I print it off and begin drawing the templates onto fusible webbing but I find I often go back to the computer to add fine adjustments and corrections.
Finally I begin selecting fabrics. I've decided I'll use pinks or purples for the flowers and pulled suitable fabrics from my stash. My flower block only require a very small amount.
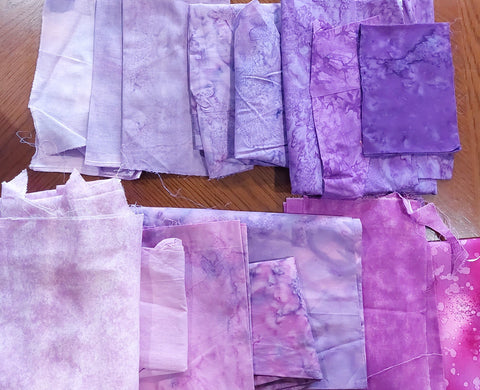
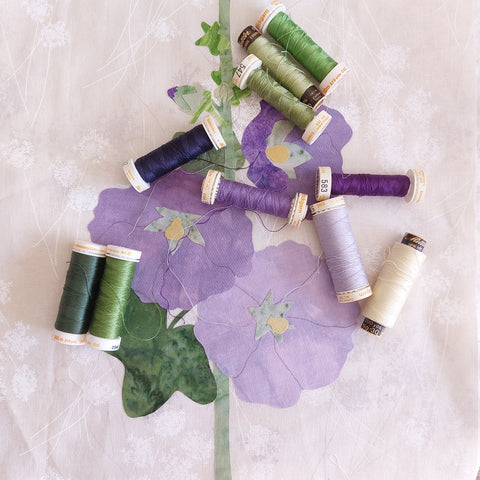
After gathering some greens, I've decided that I'll make the flowers purple using the upper selection in the photo above and begin the process of cutting each fusible piece out and laying it on the appropriate fabric. This process gives me an idea of my color choices before I fuse and cut thus it is easy to change out a fabric for another.
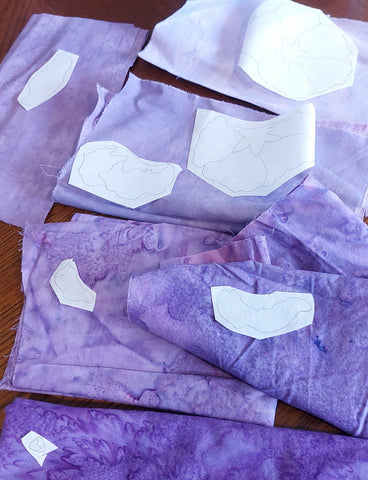
As I fuse the pieces on the fabric, I cut off the section and fold the remaining fabric ready to put away again. This gives me a clear table to work on.
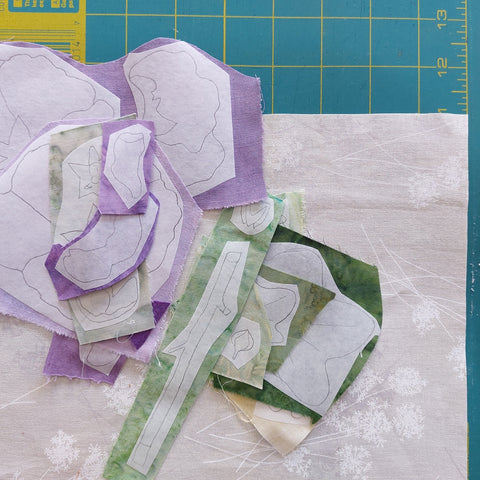
Next it is time to cut each piece out and as I do, I transfer any stitching lines through to the right side of the fabric - this saves me eyeballing it when stitching.
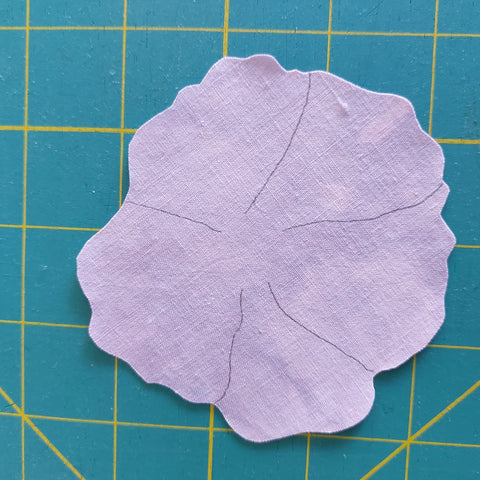
Now the fun begins.... each individual flower is built to become its own applique.
Finally, I'm ready to build up the block on the background and begin stitching.
Now the next choice is thread selection. This can be a difficult chore even with as many threads as I have (well over 200). I find it most difficult to find the right purples so my darkest is a little darker than I'd planned.
First stitching begins with the greens.

I stitch around all the pieces twice which gives them a nice edging and often I use a darker thread for the second stitching.
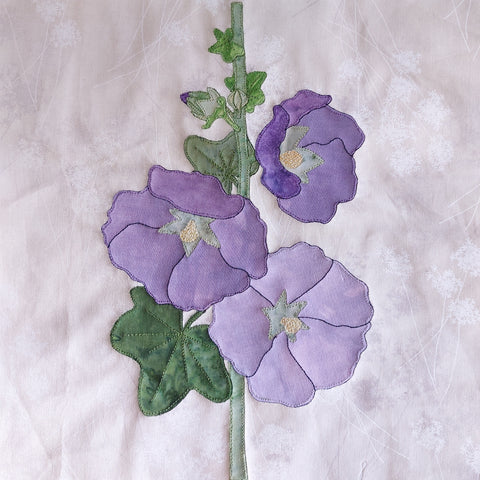
For the center of each flower, I stitched a free motion zigzag to give a fuzzy look as you see on the actual hollyhocks.
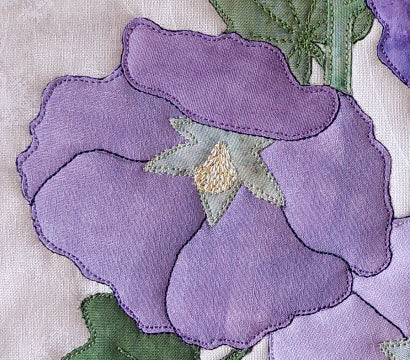
Here's my finished block. If you'd like to make one too, you can find the pattern here: Hollyhock flower block